







Prinsys
Early Leakage Detection
A battery-free sensor system designed to detect and monitor water leaks across commercial properties. Our international team developed the product end to end, spanning research, service design, UX/UI, system architecture, hardware integration, and development. We delivered a working application and receiver prototype to Prinsys for continued development.

Going to Finland
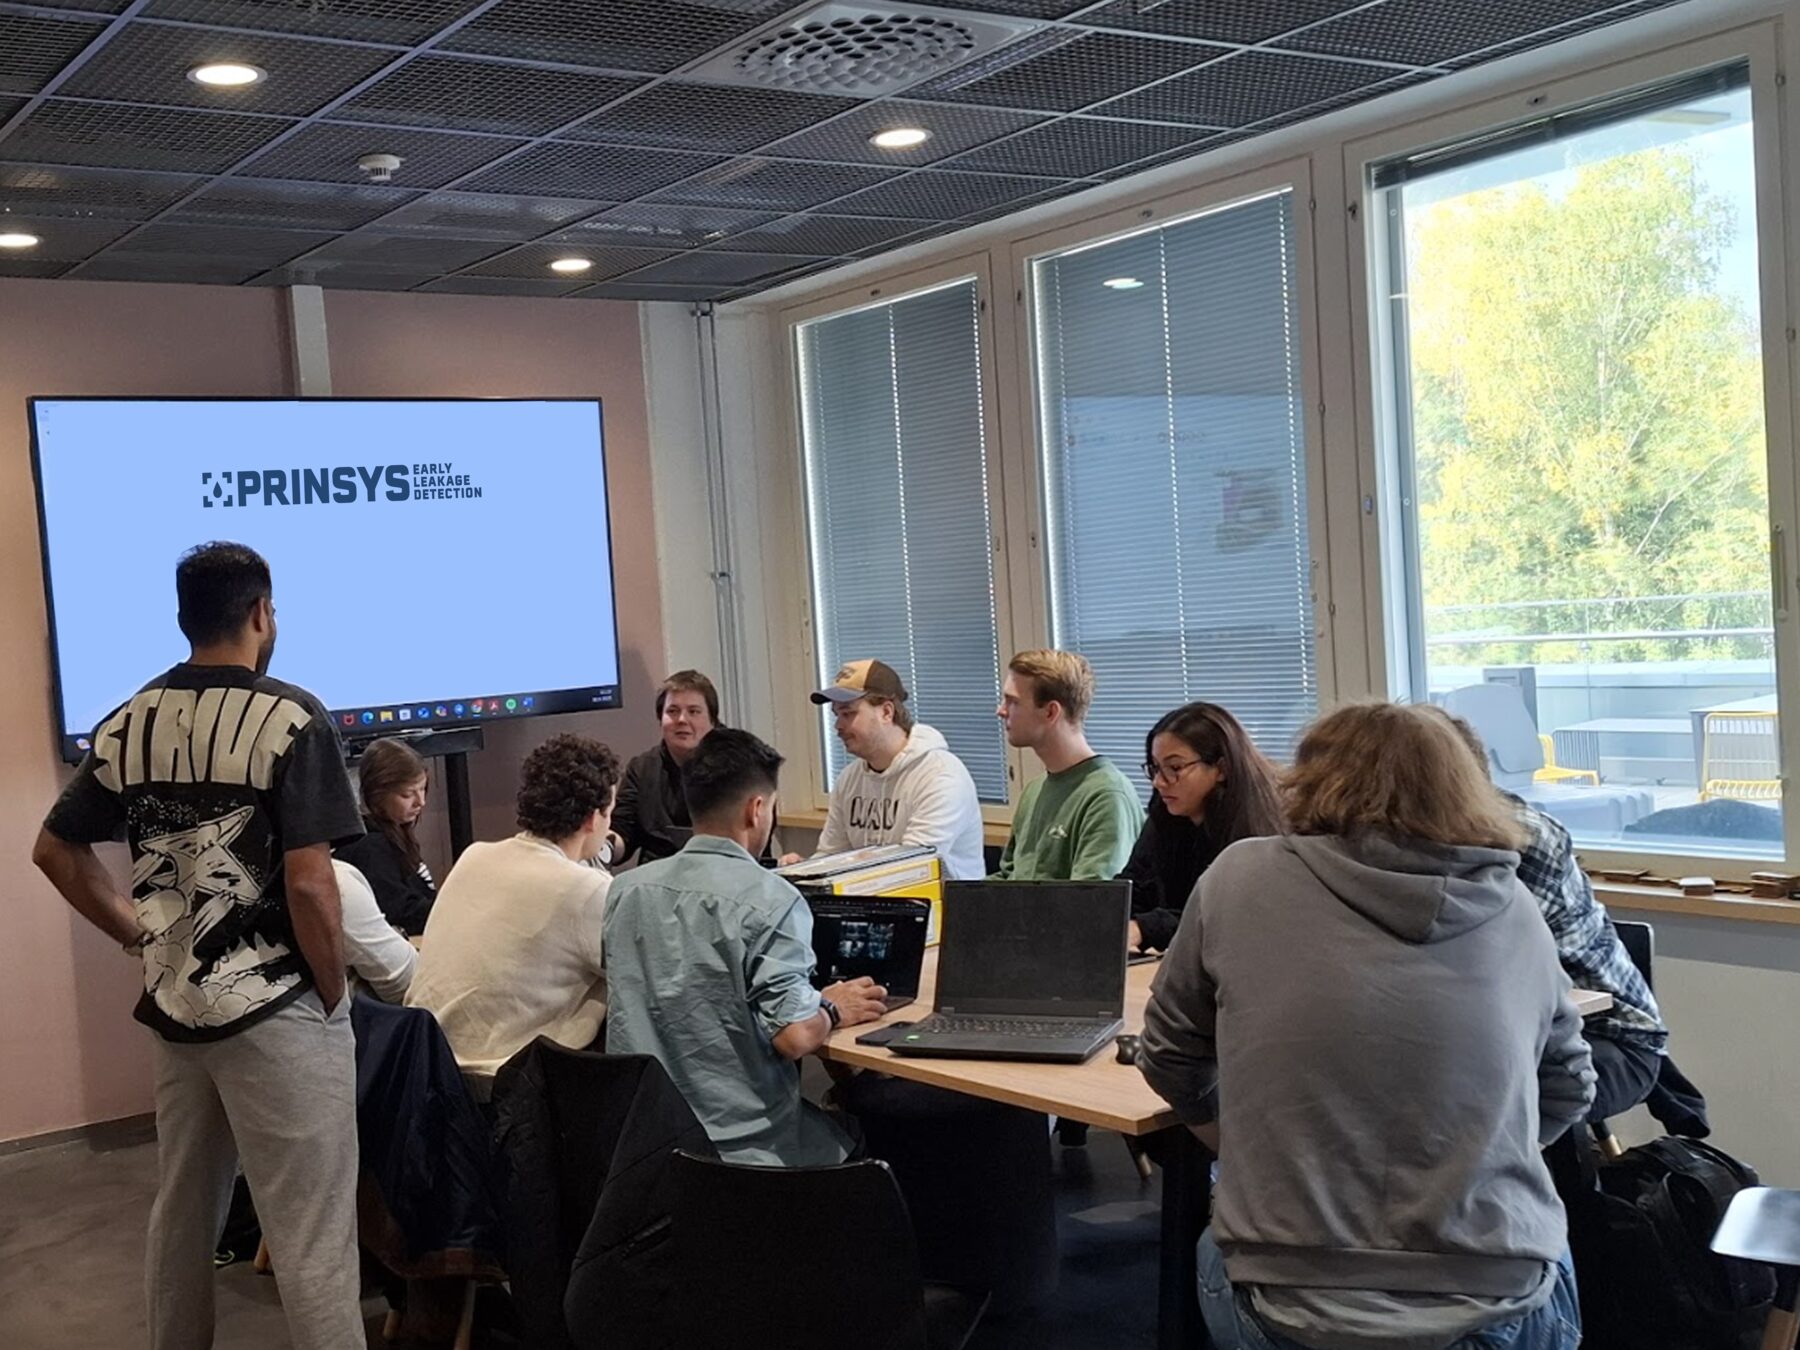
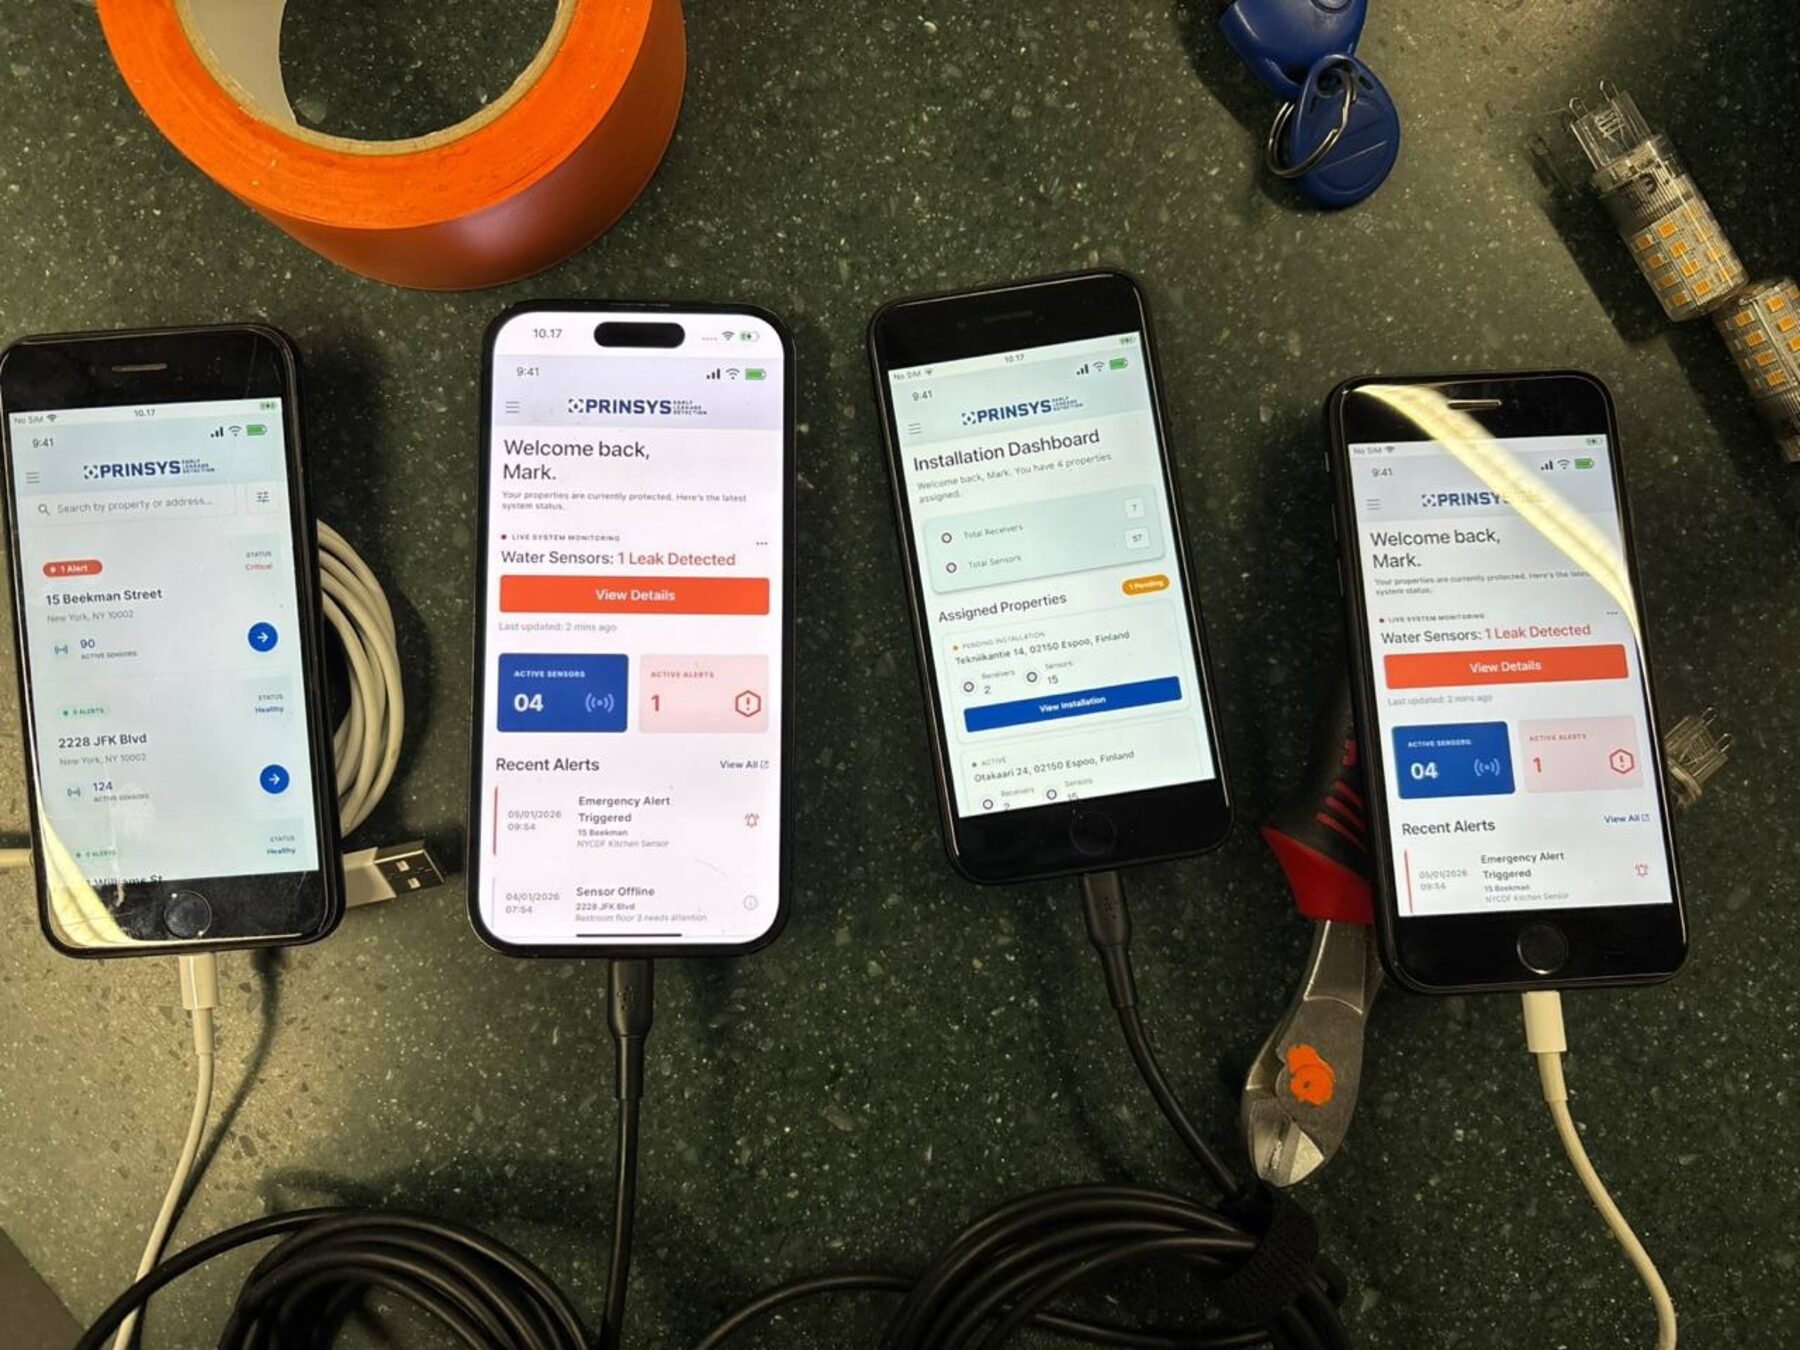
Four of us from Pace's NYC Design Factory, one of only 30 Design Factories in the world, joined Aalto University's yearlong Product Development Project. Our client was Prinsys, a Finnish startup working to bring a battery free leak detection sensor to market.
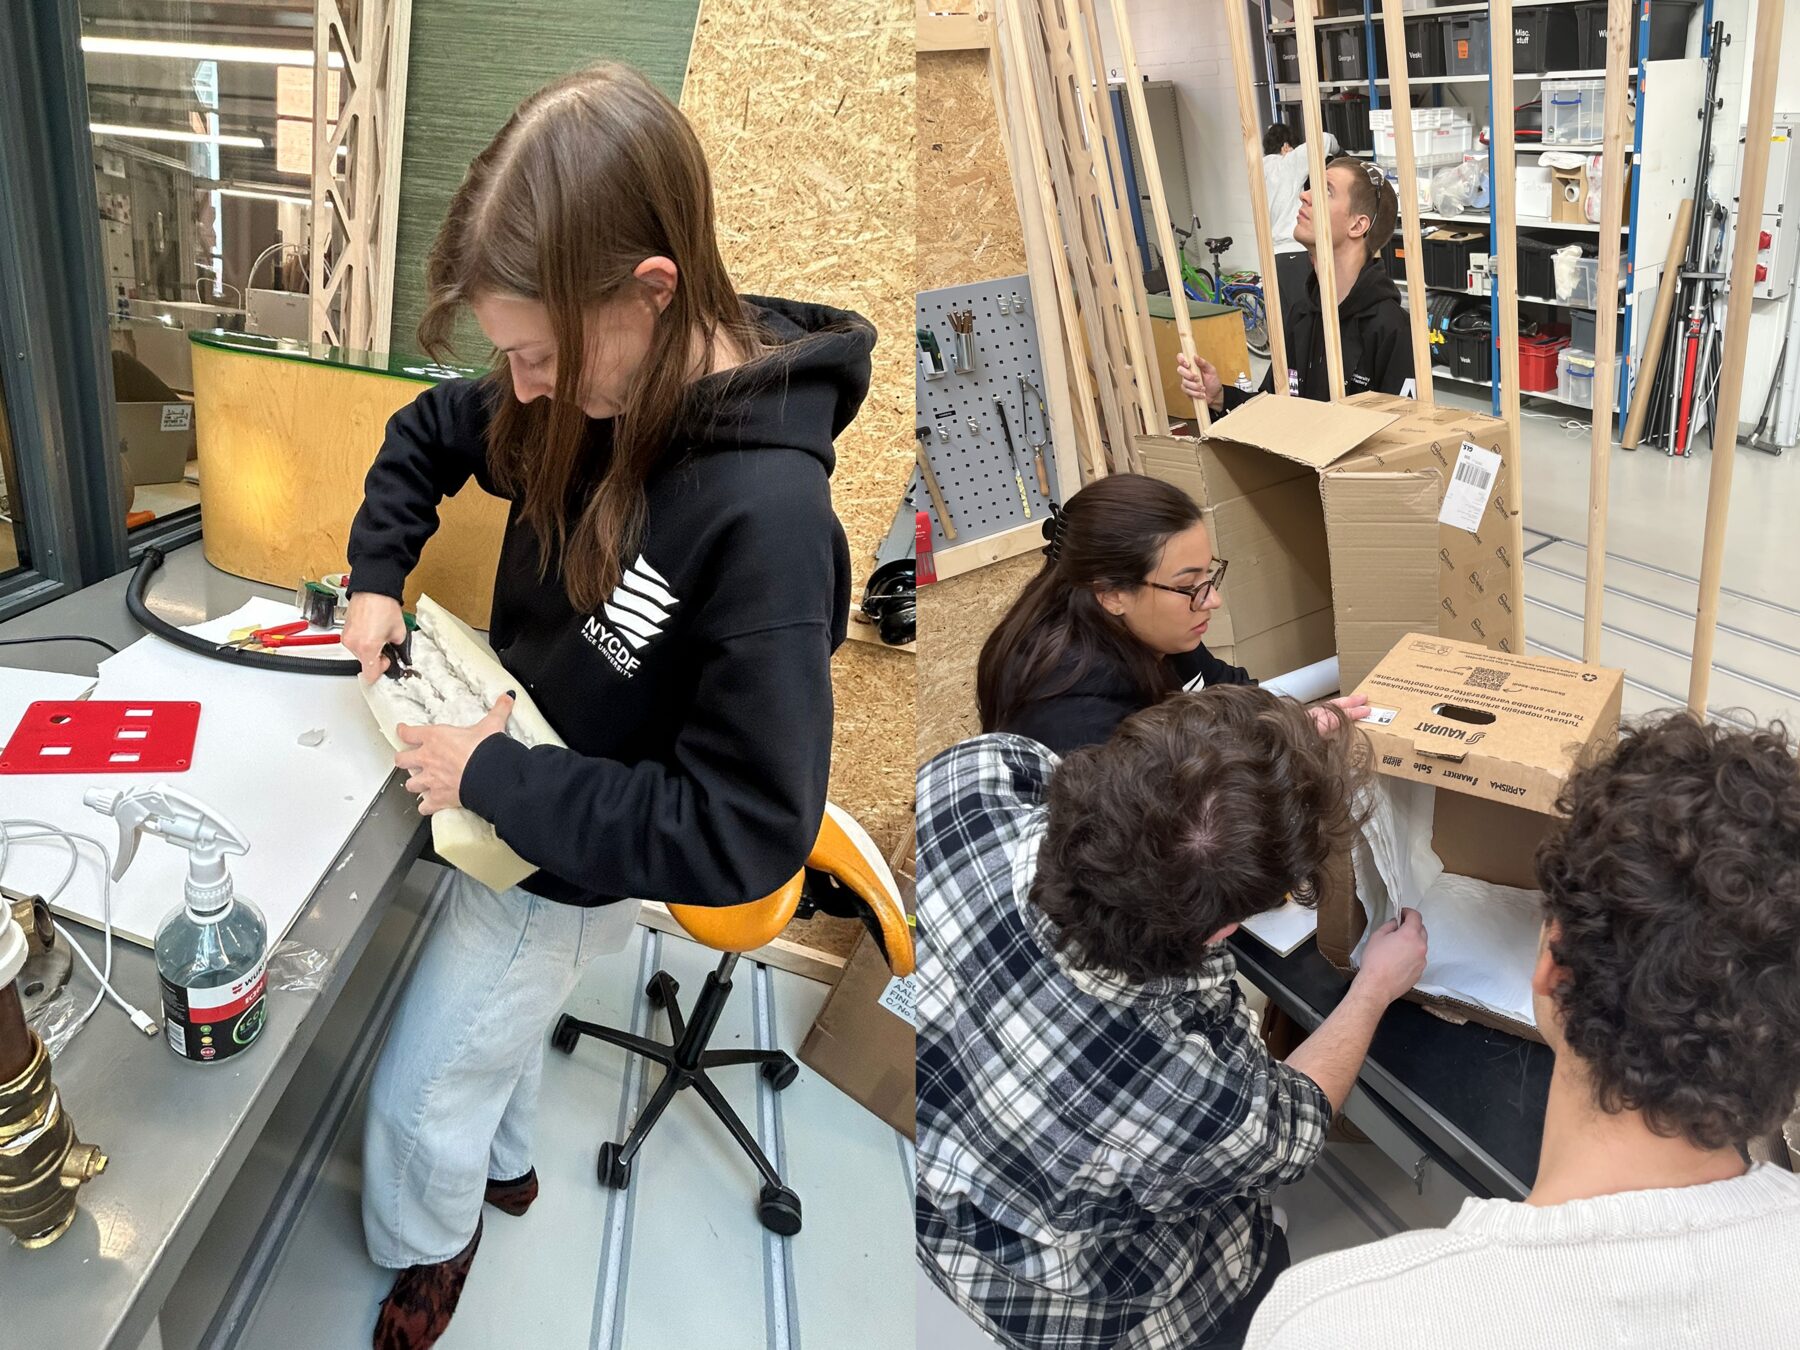
Our team of 11 brought together students from New York, Pakistan, the Netherlands, India, Colombia, and France. We met the Prinsys team and its investors in Helsinki. We spent several days prototyping in the ProtoBunker. It had electrical tools, plumbing equipment, and 3D printers. The trip was also filled with team development and collaborative brainstorming sessions, and it is where our research began.
Service Design
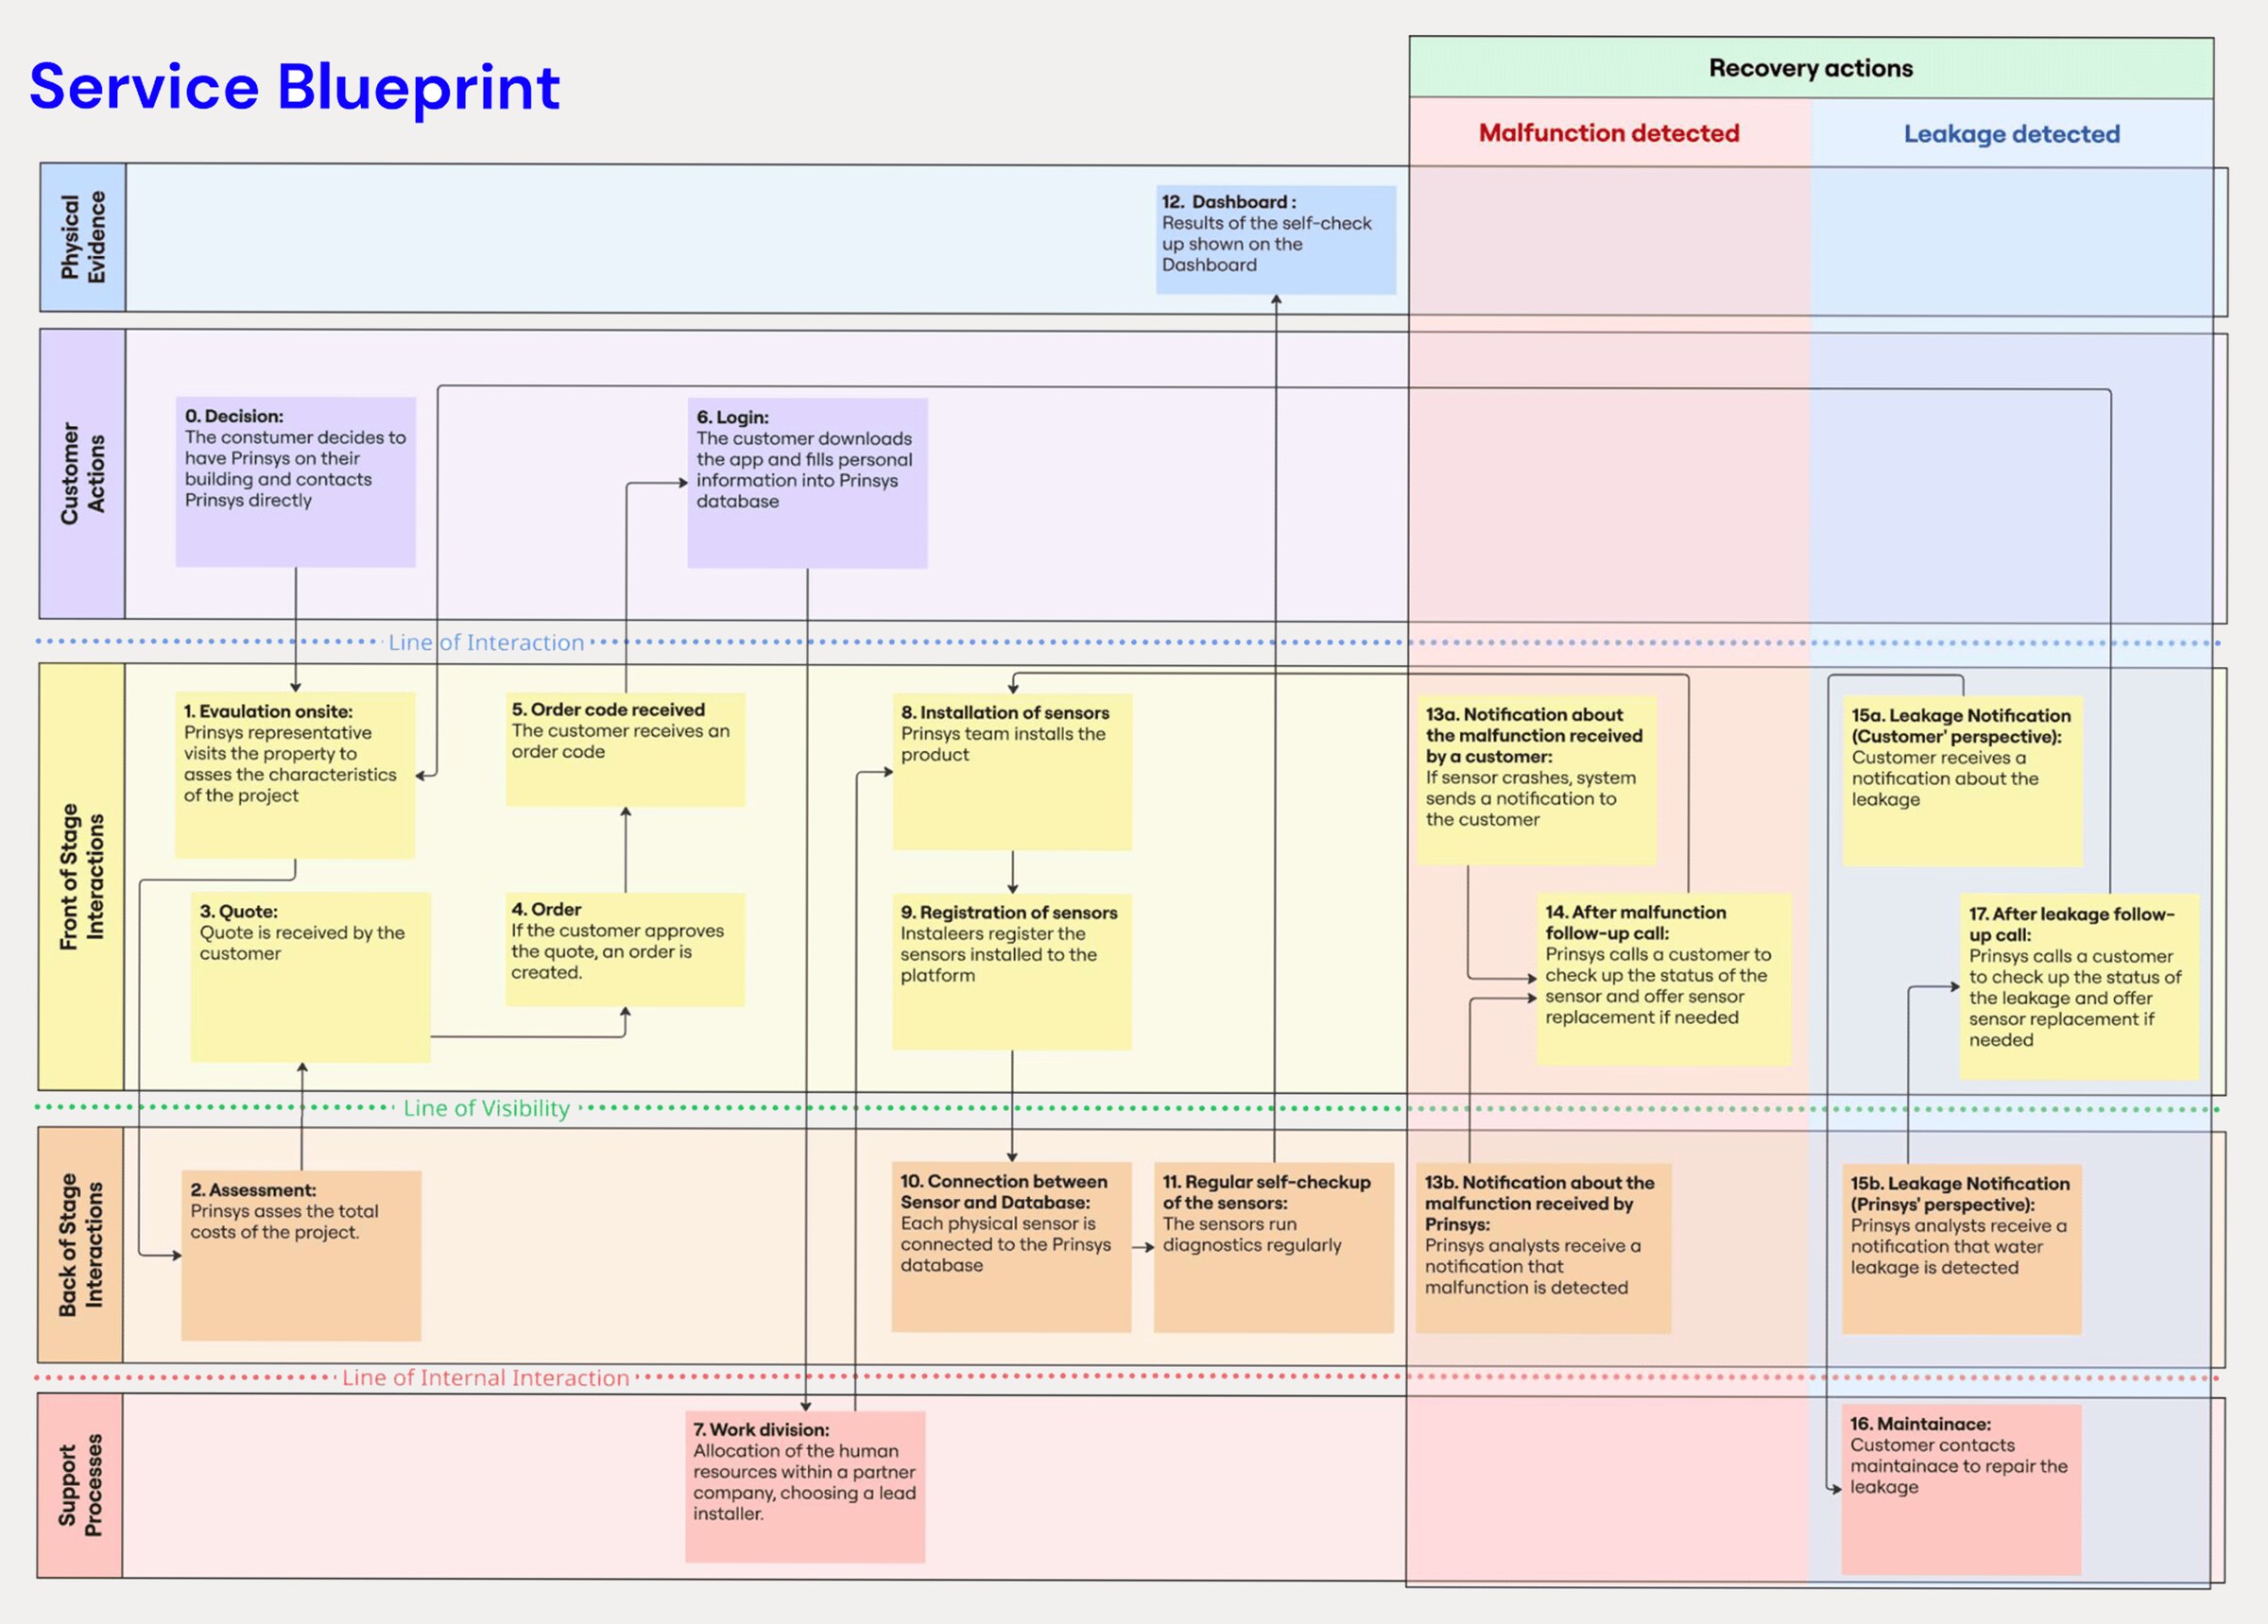
Before we built an app or any hardware, we mapped the user journey and designed the service end to end. Prinsys was not just selling a battery free water leak sensor, but an entire service connecting sensors, software, people, and processes to prevent water damage.
Our service blueprint maps each customer touchpoint to the people and systems behind it. It follows a building from assessment and quote, through installation, to a dashboard fed by sensors that continuously check themselves.
The biggest question was what happens when something goes wrong. A malfunction and a leak both notify the customer and Prinsys, but only a leak sends maintenance to repair it. That line decided what Prinsys was liable for and outlined everything we built next.

Wireframes
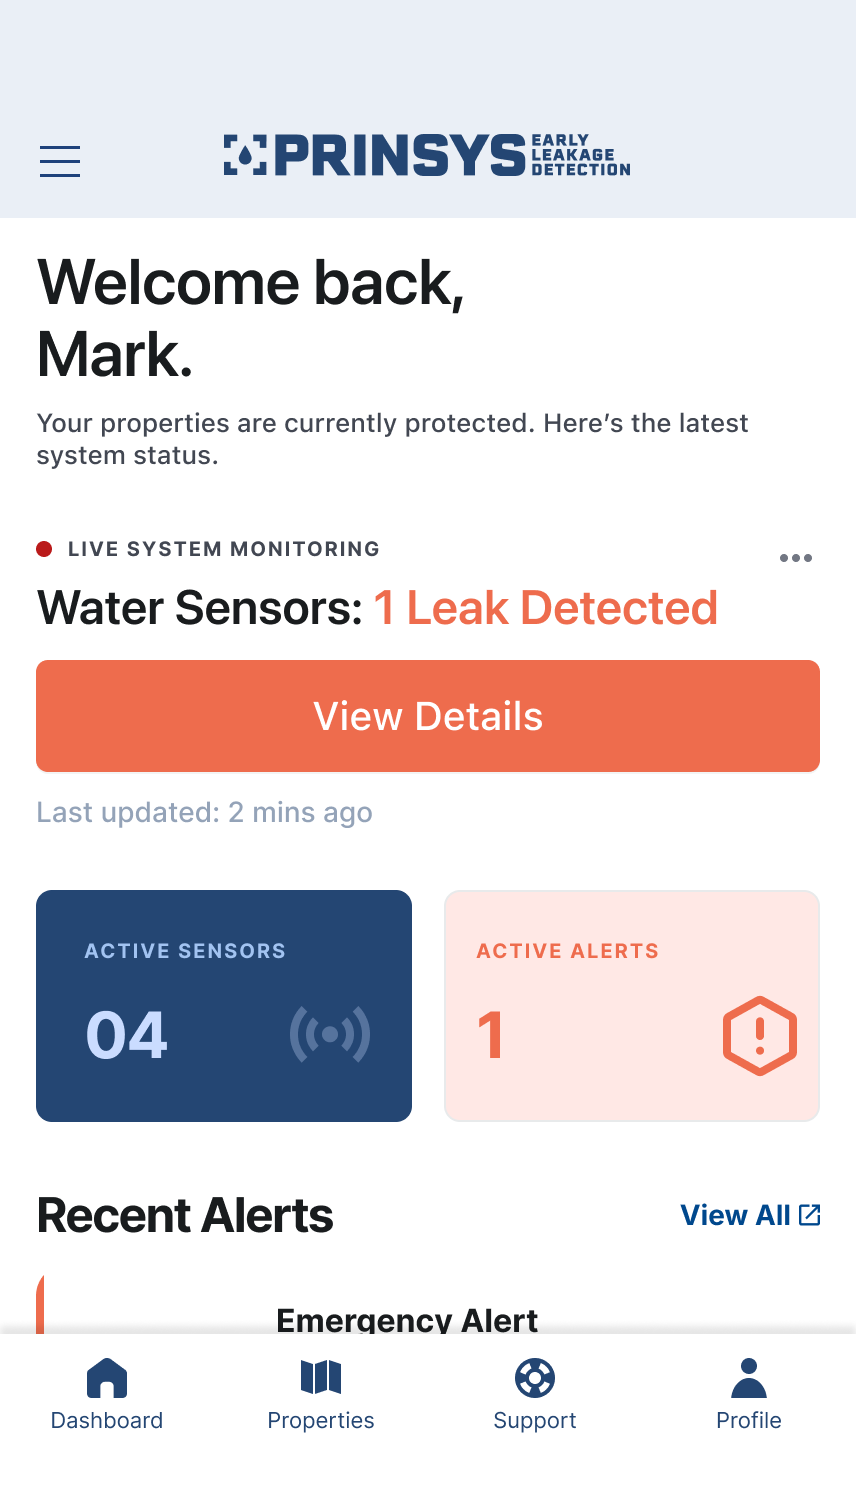
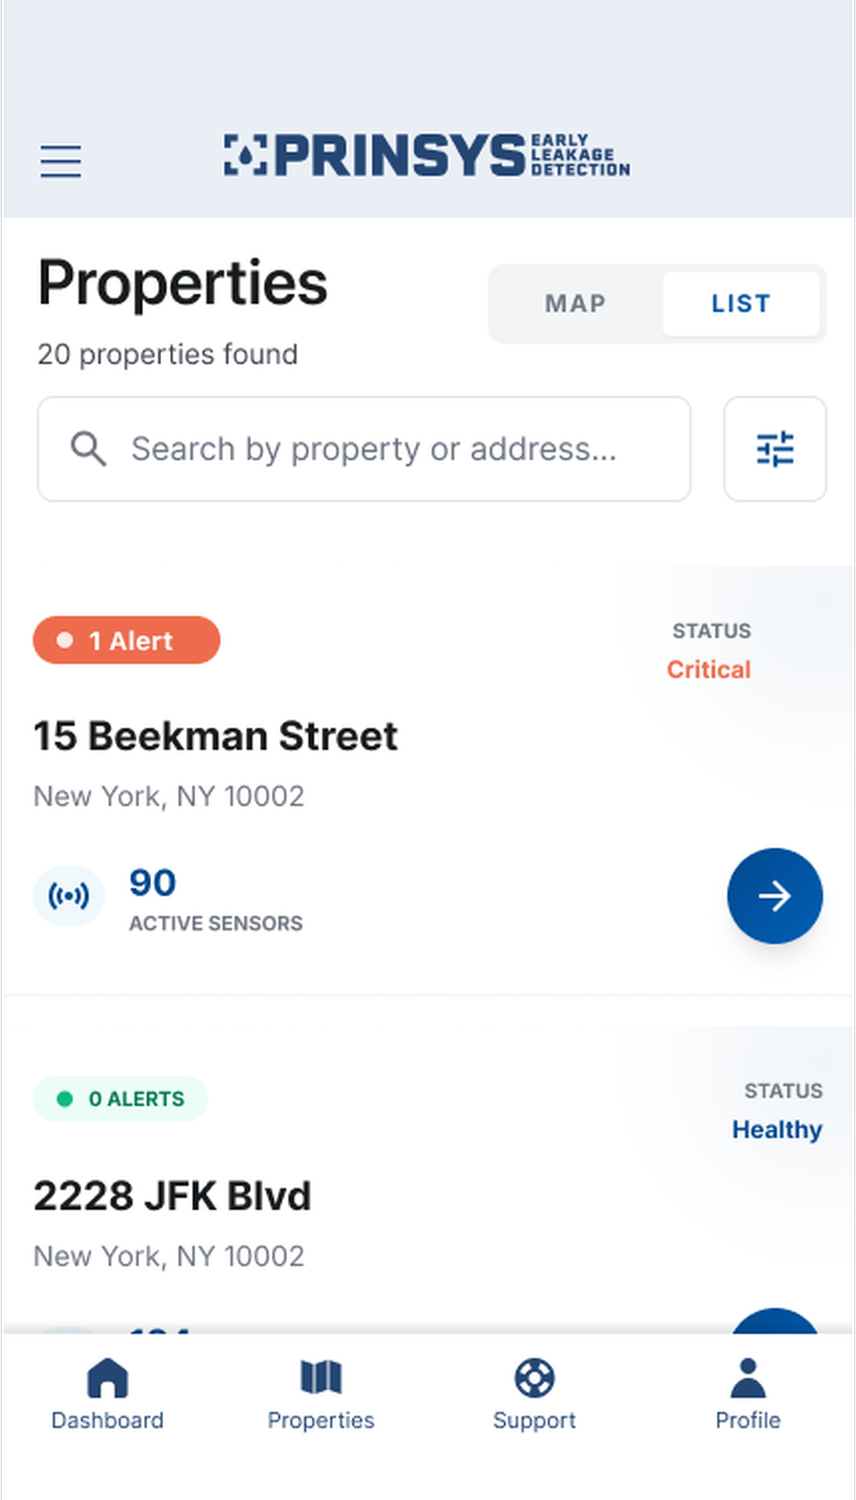
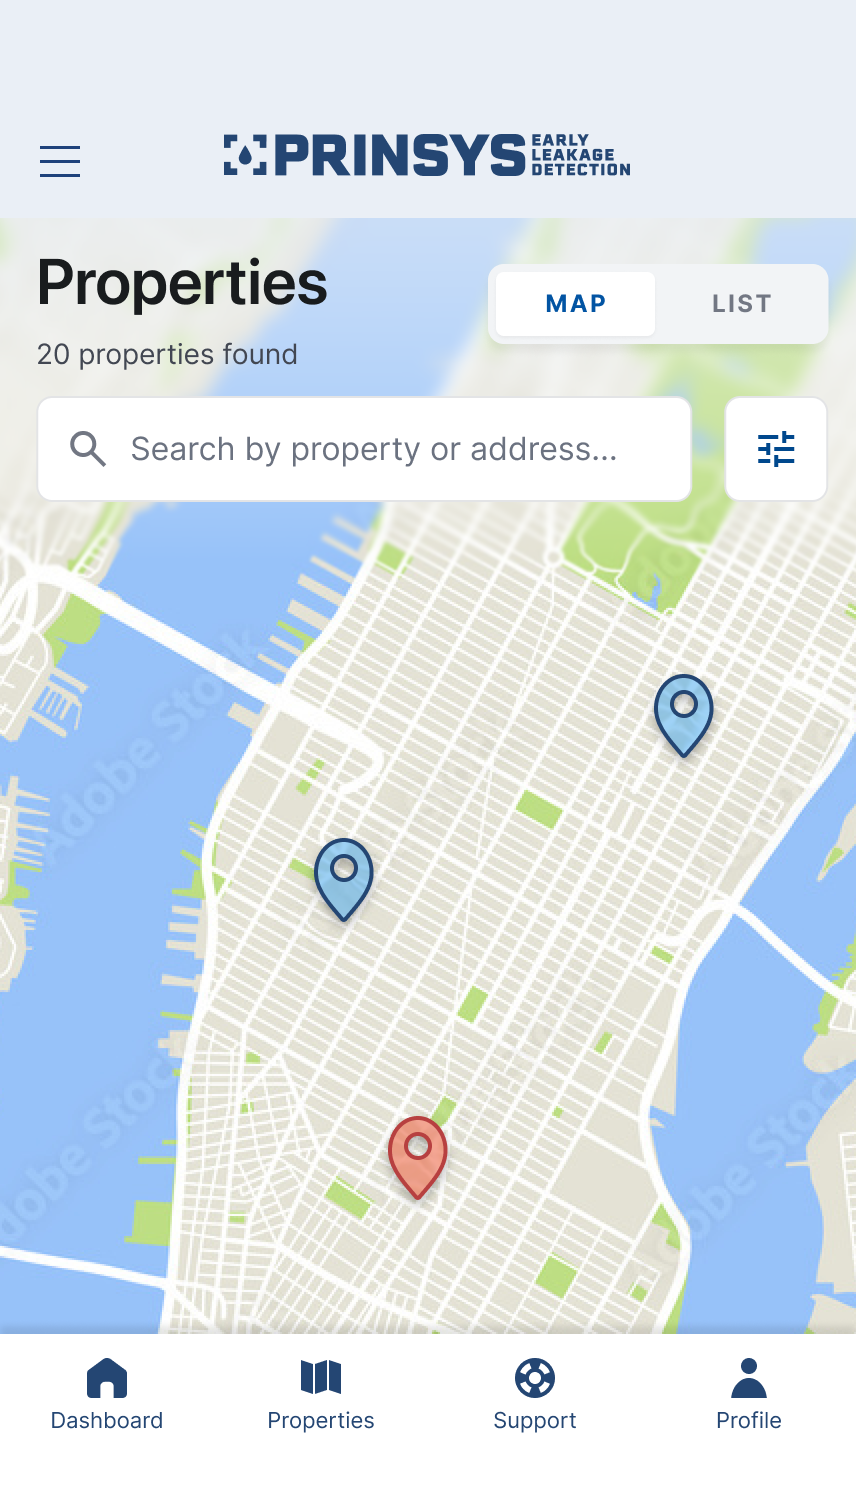
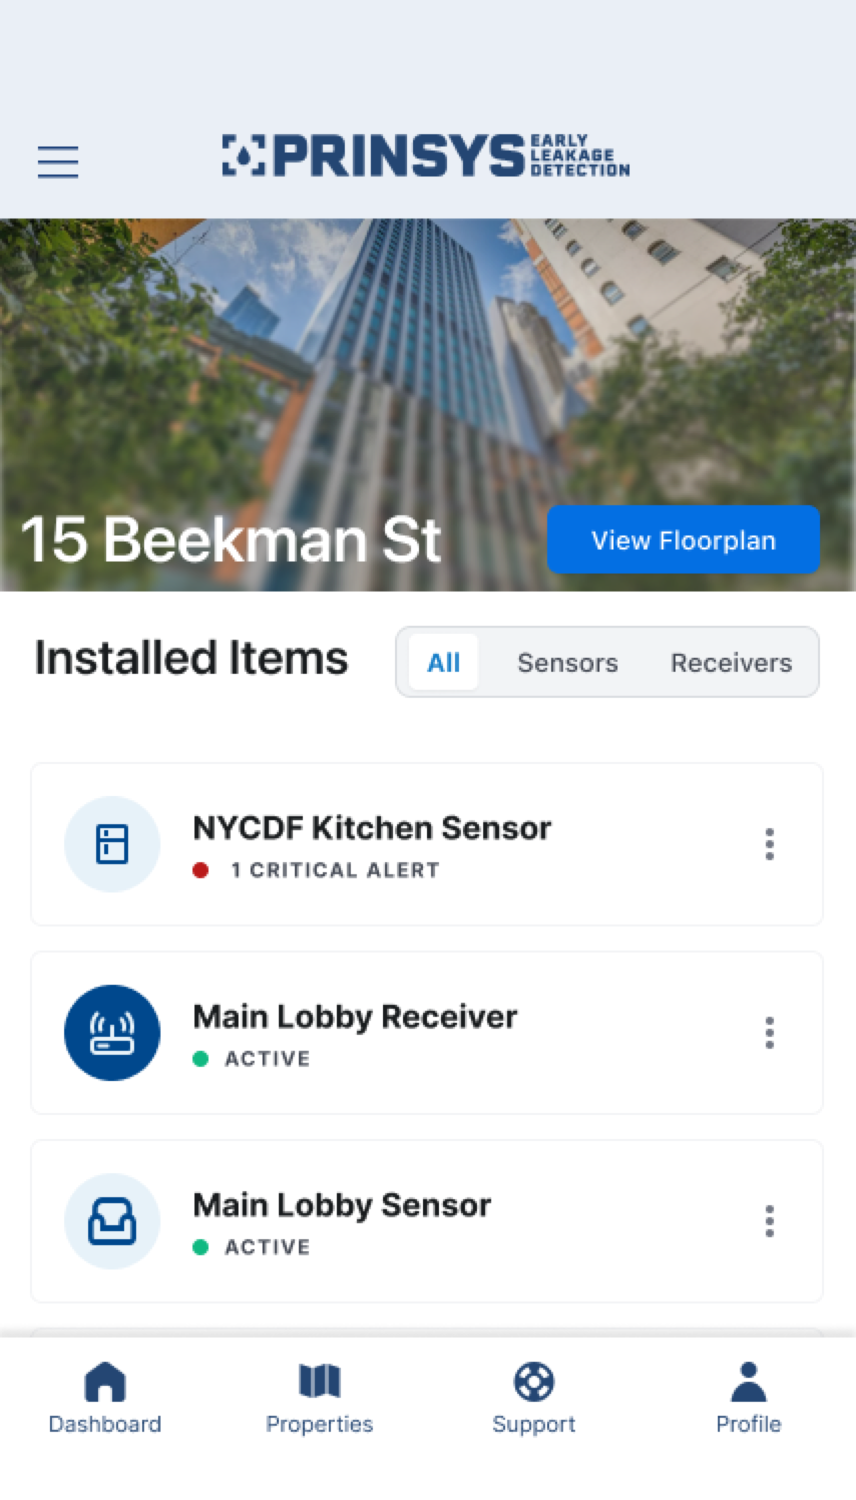
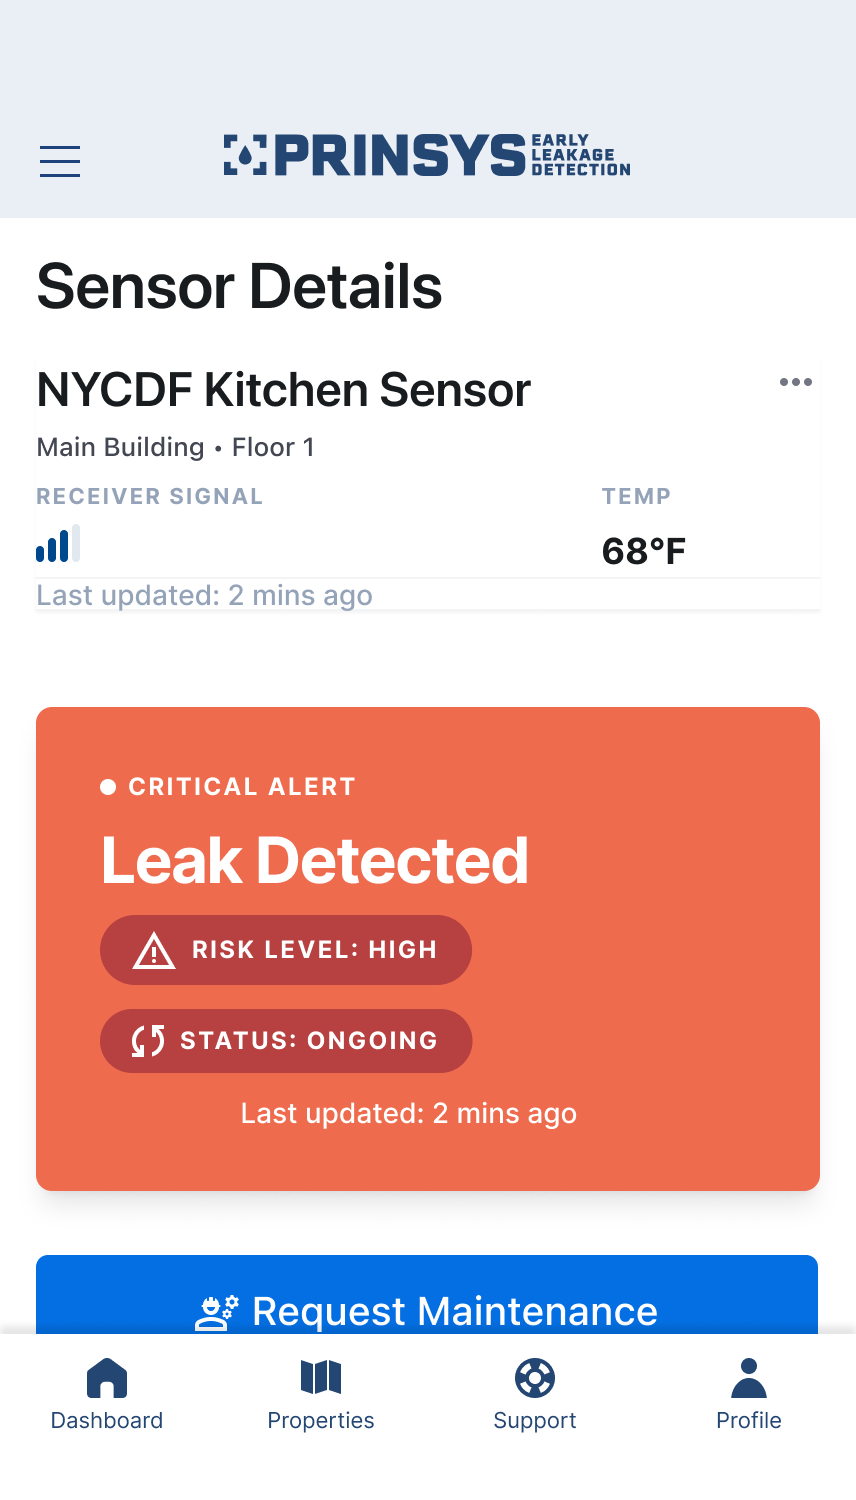
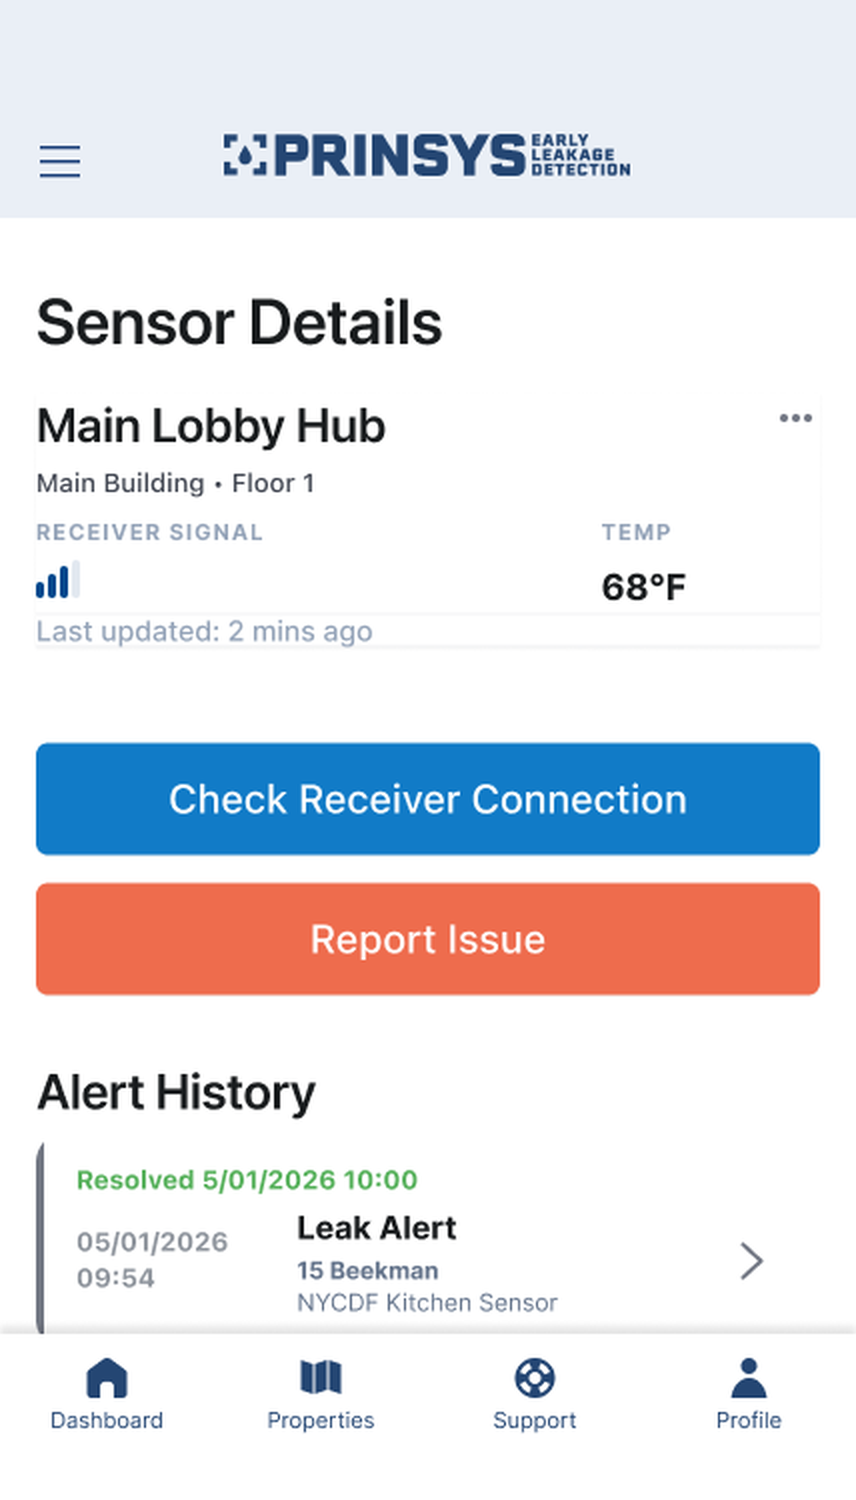
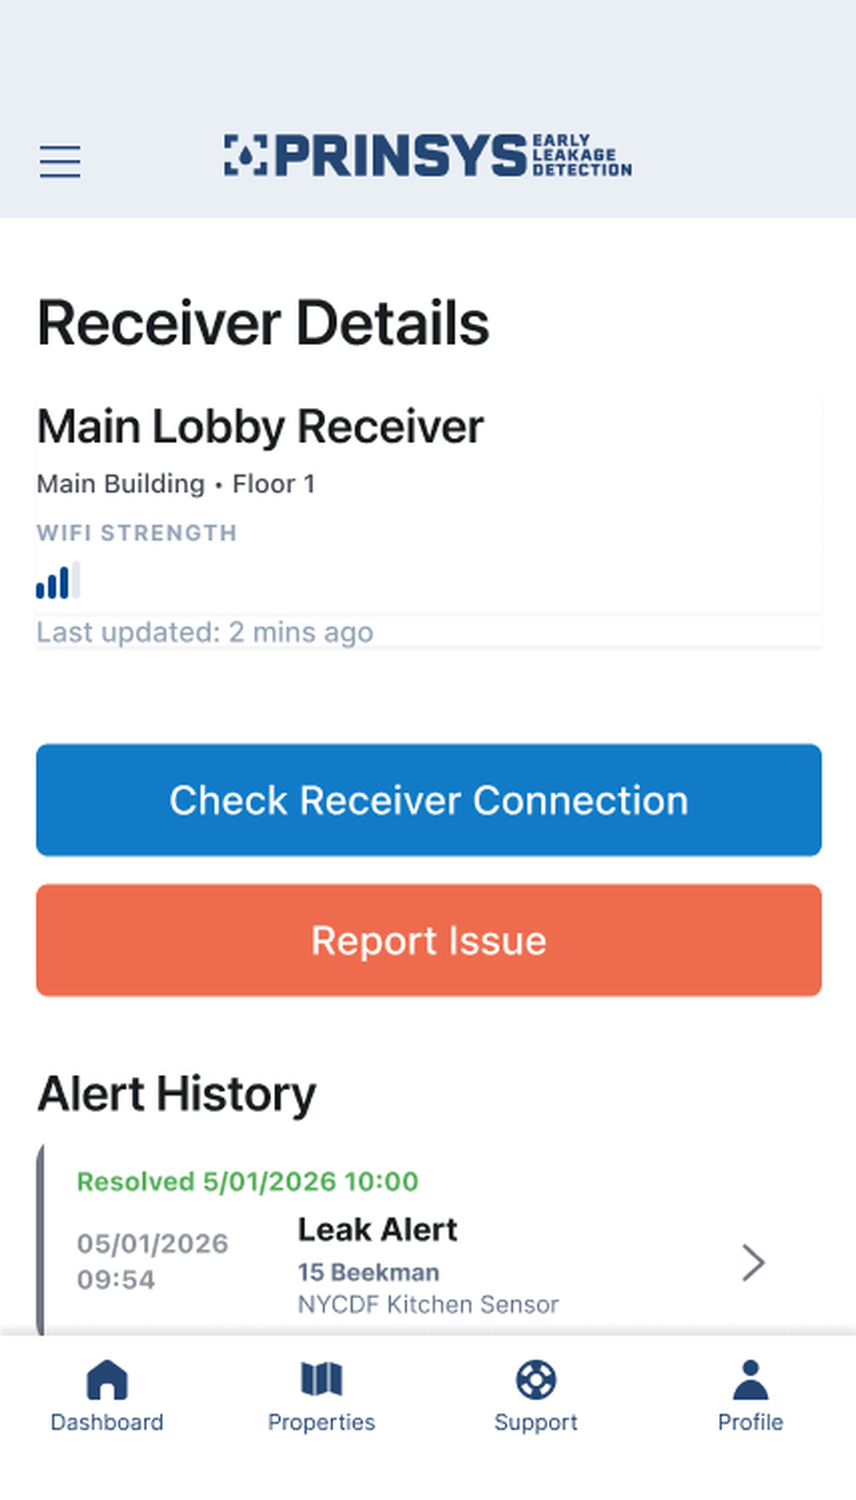
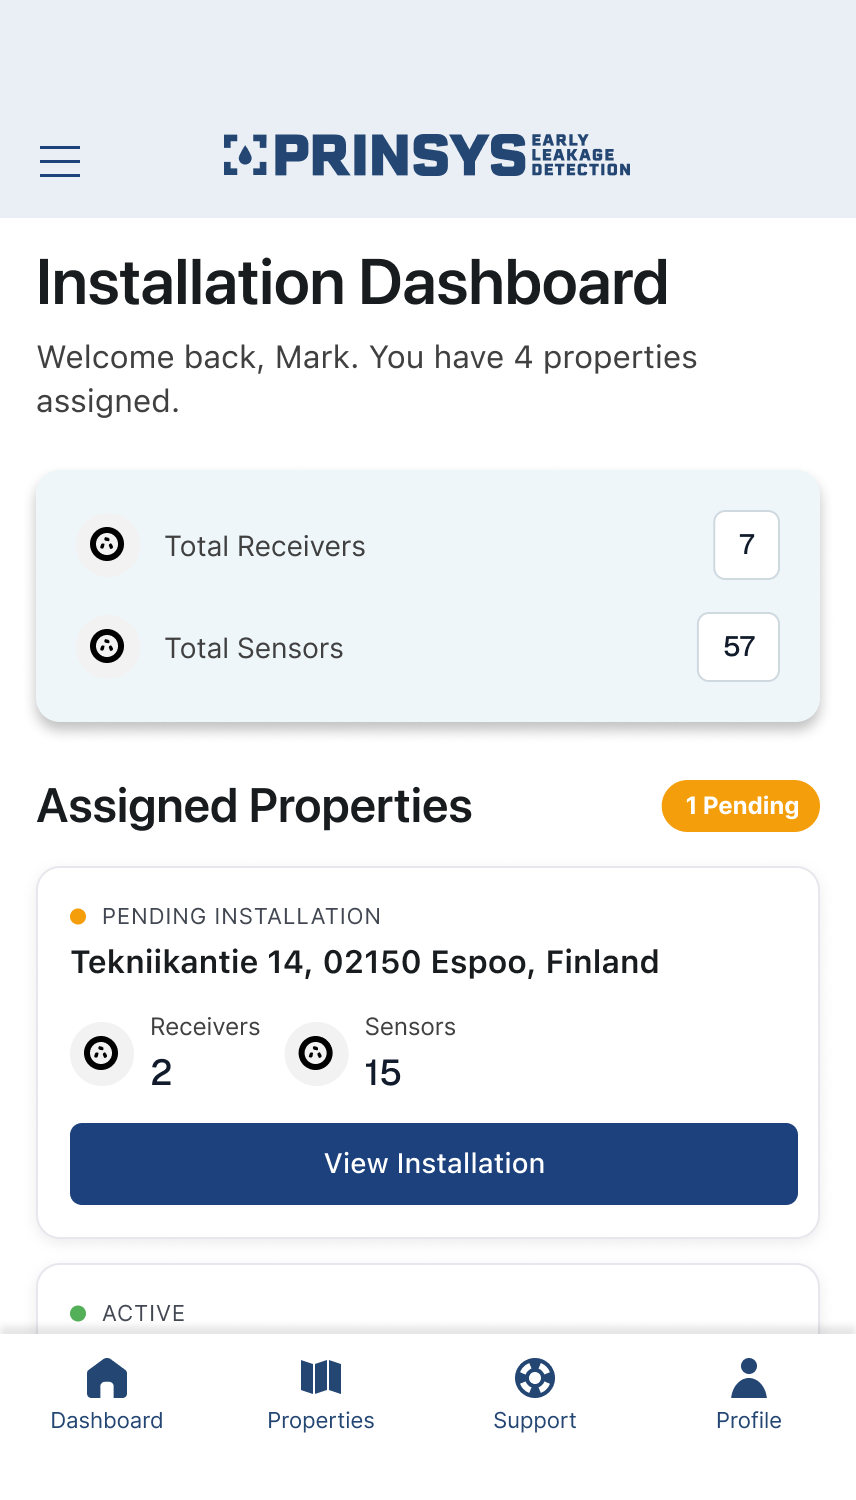
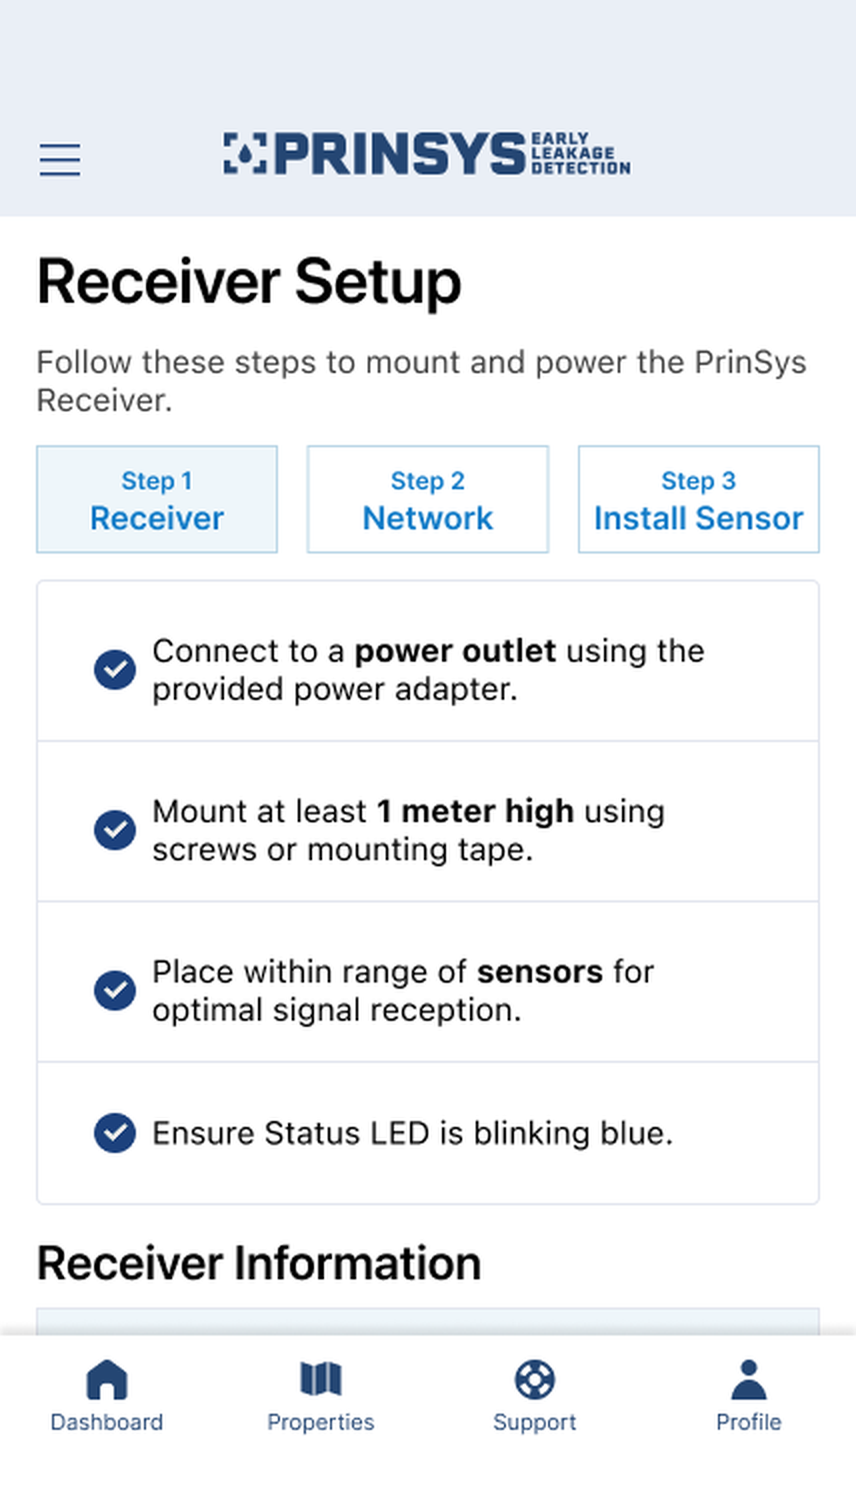
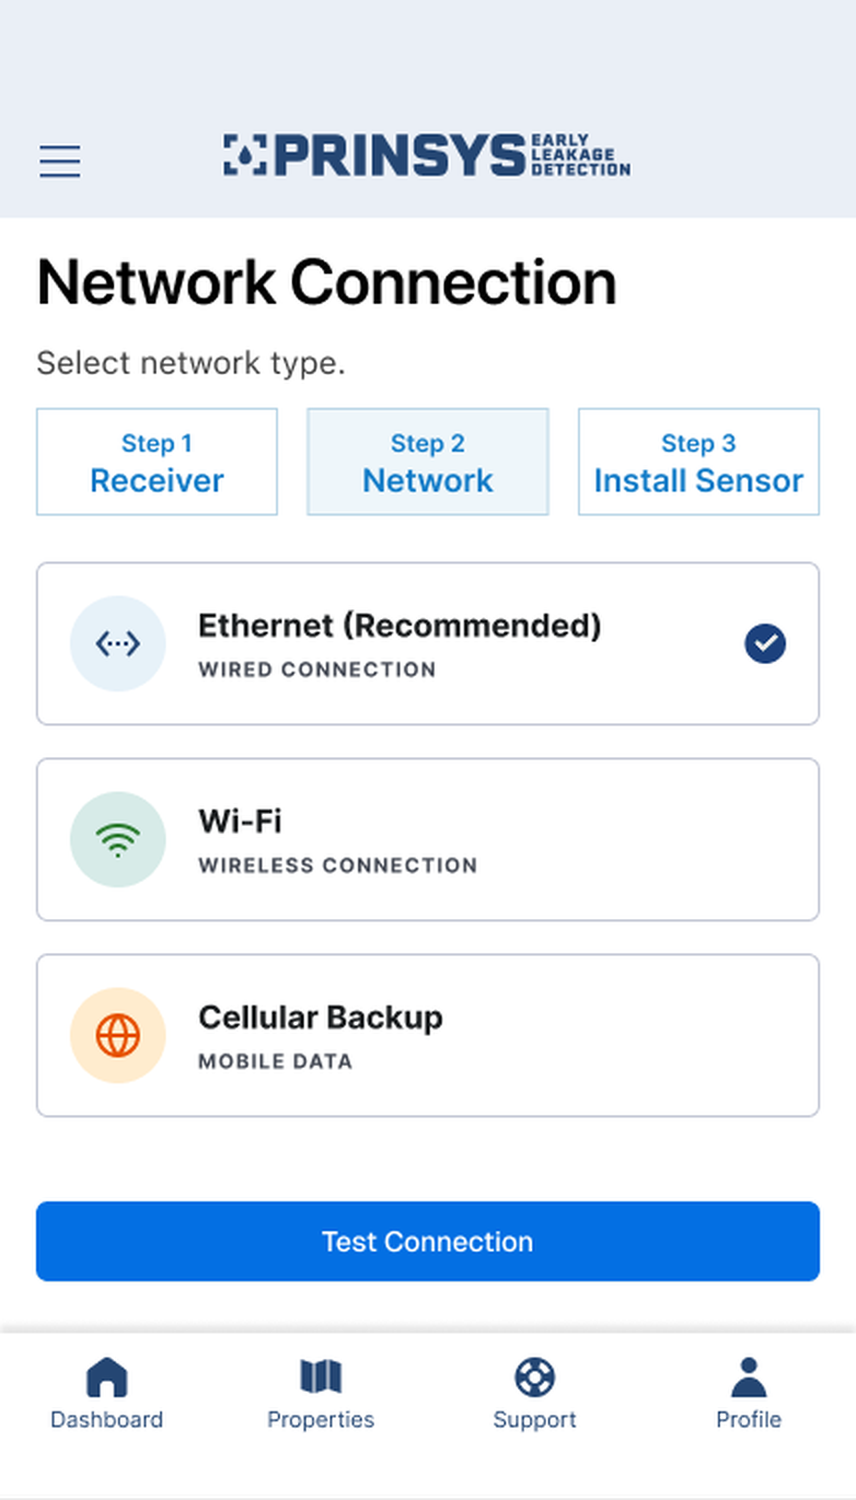
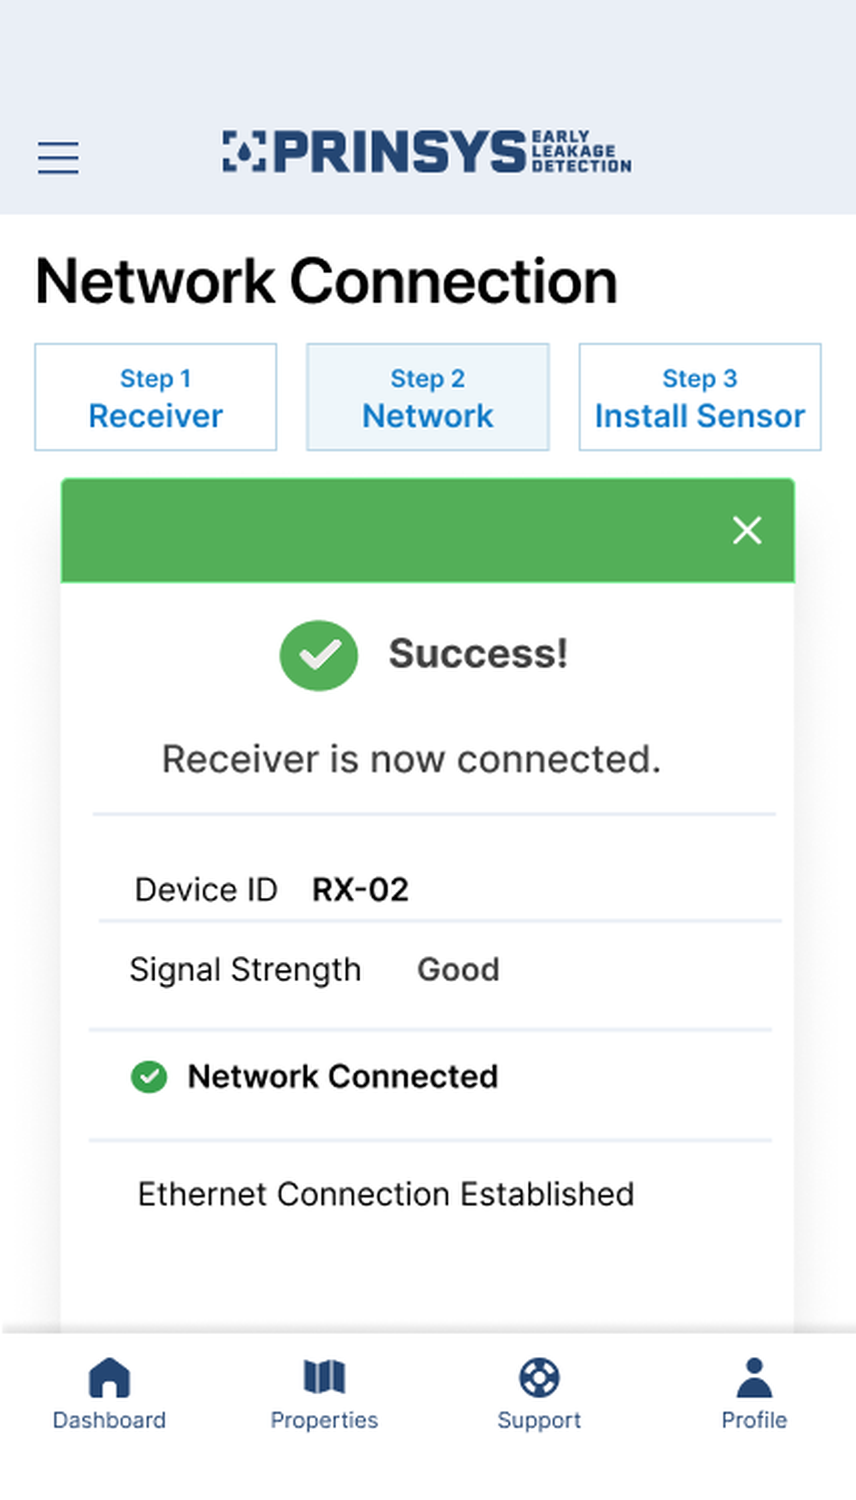
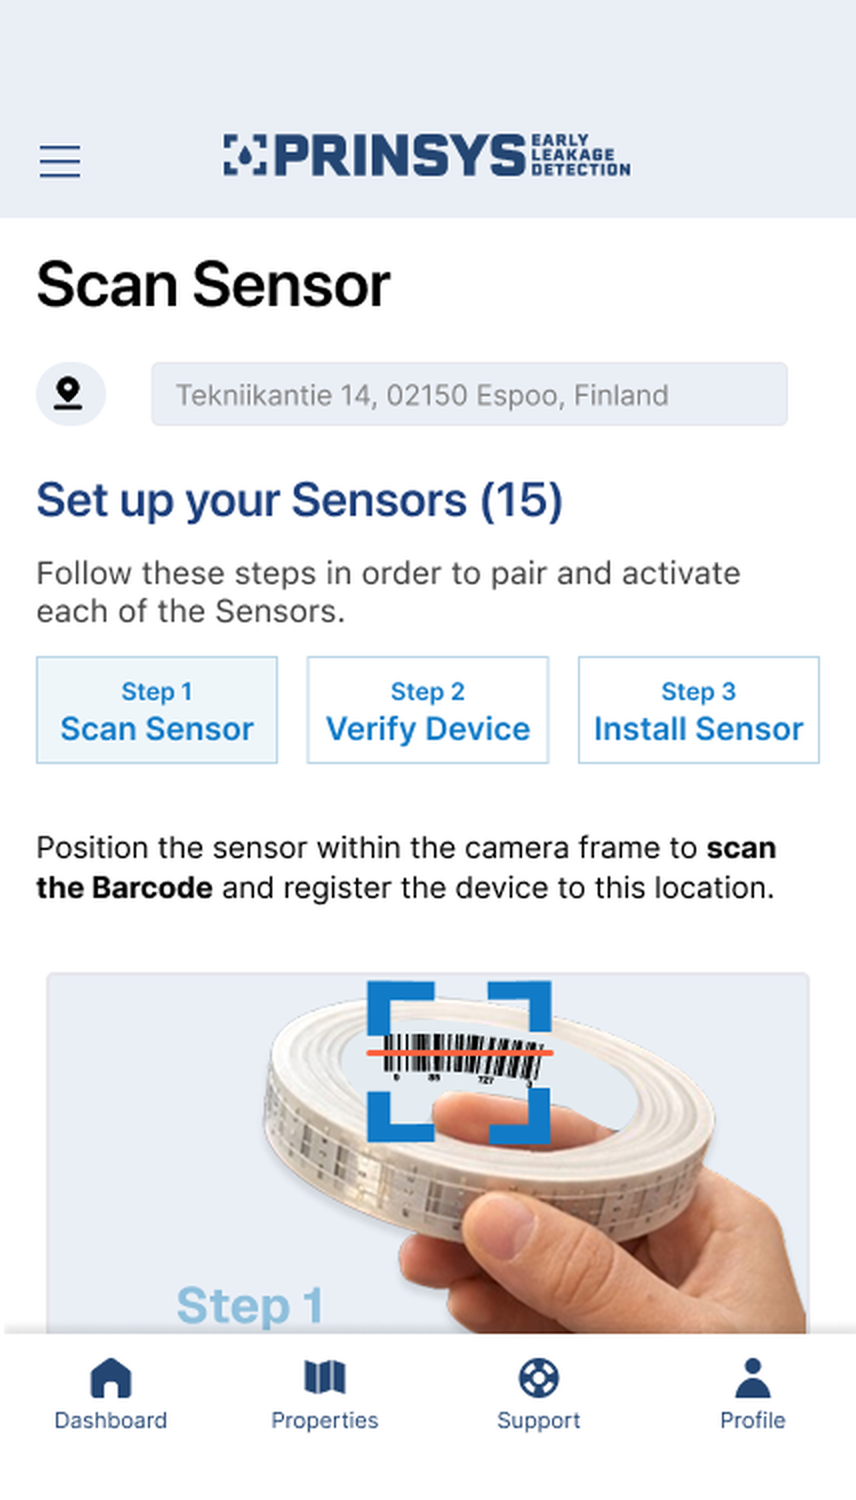
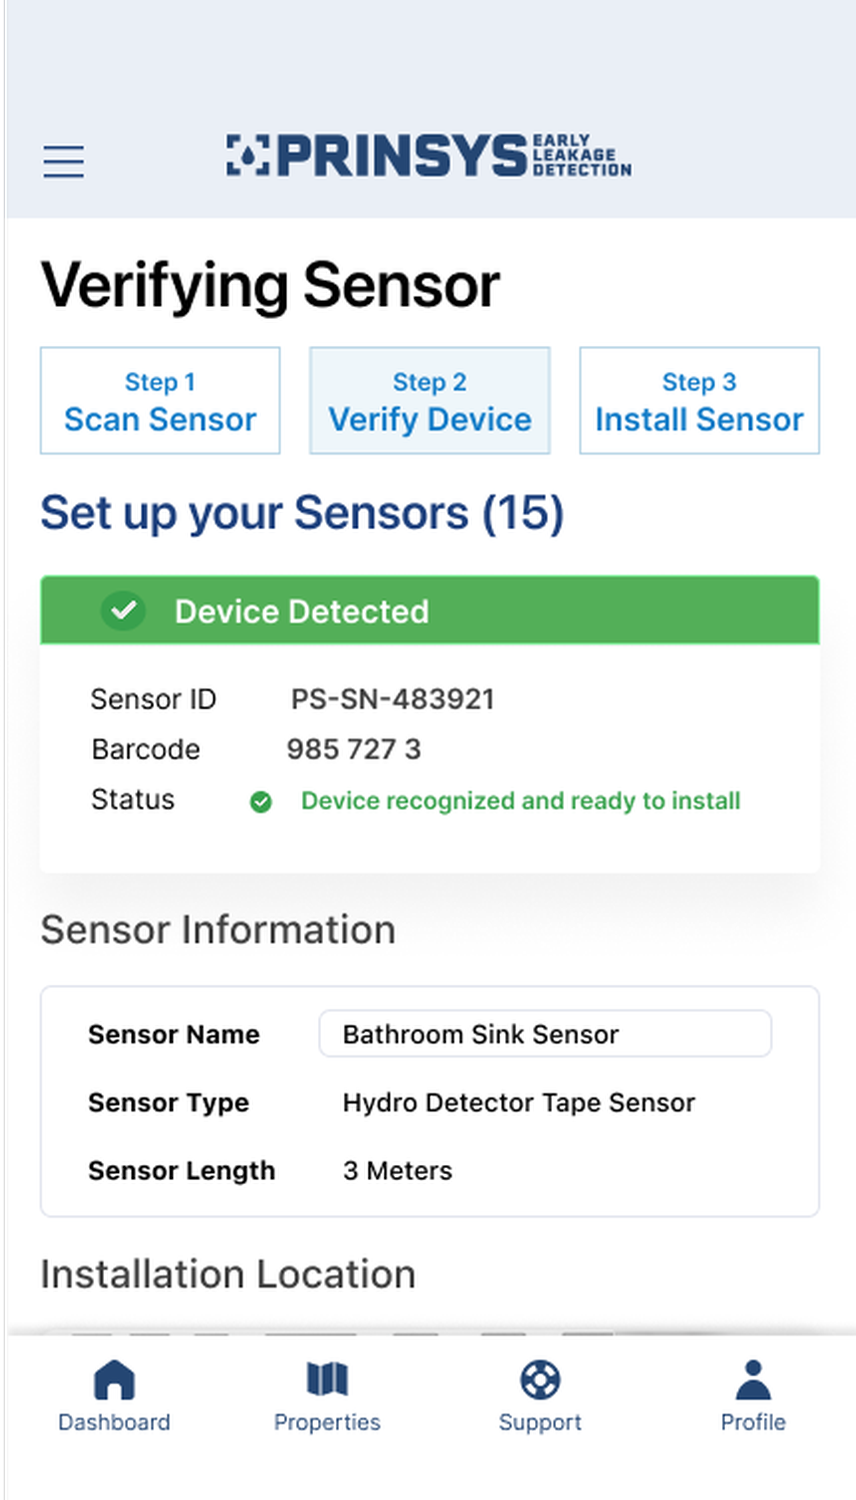
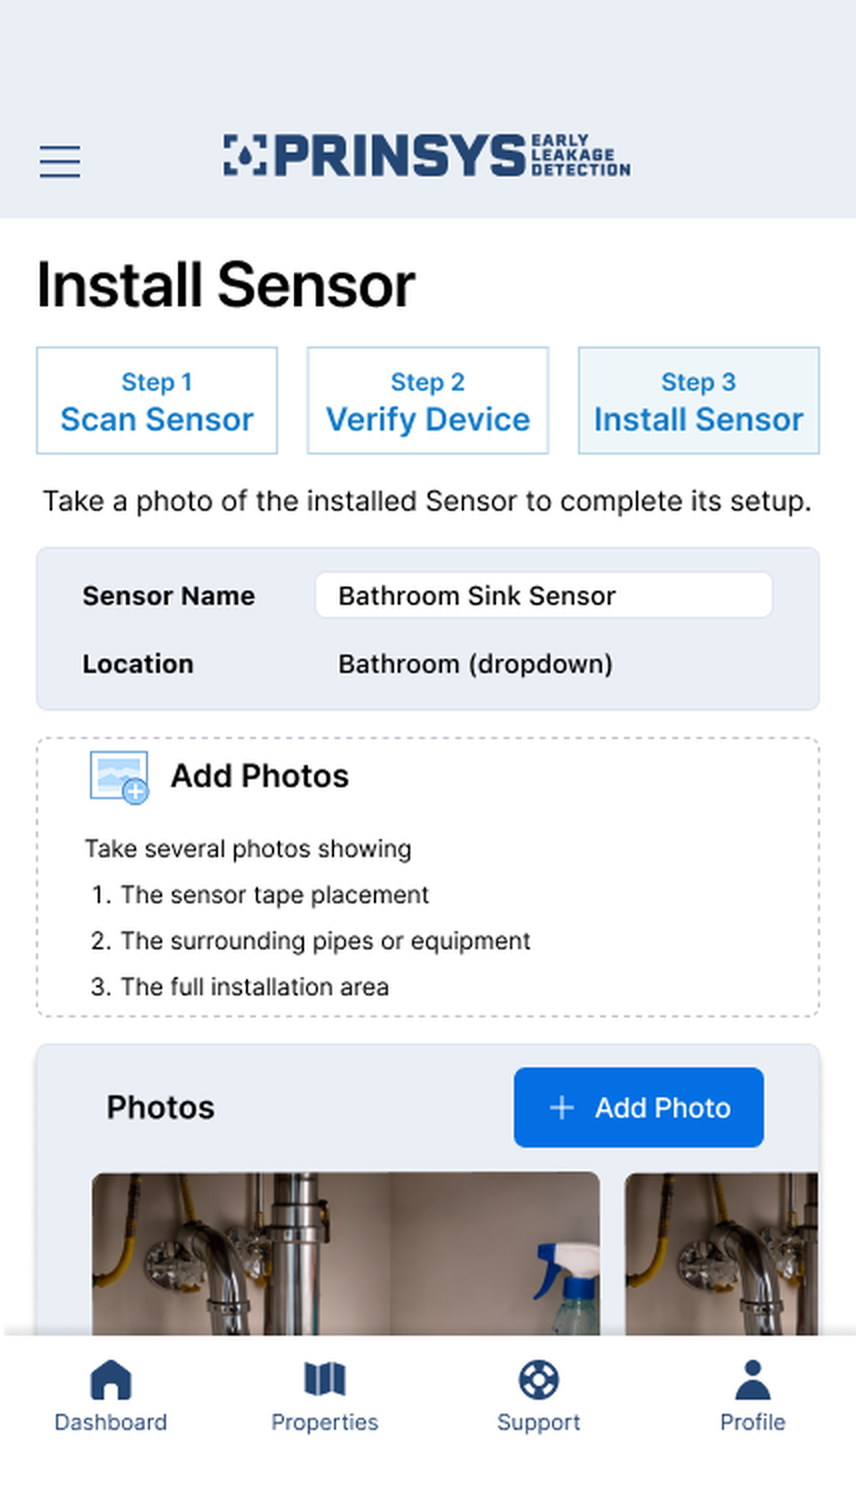
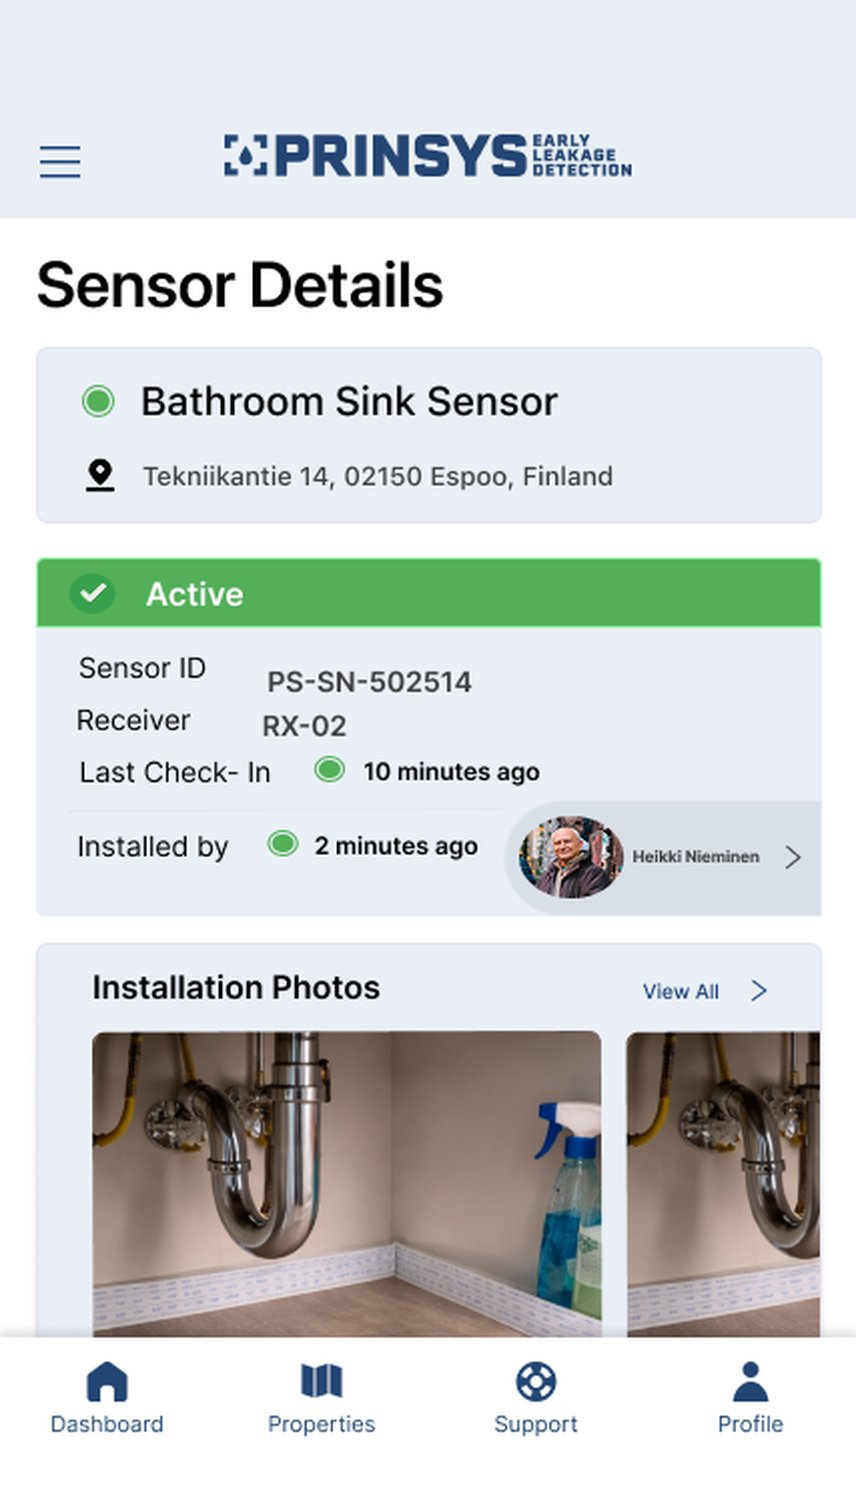
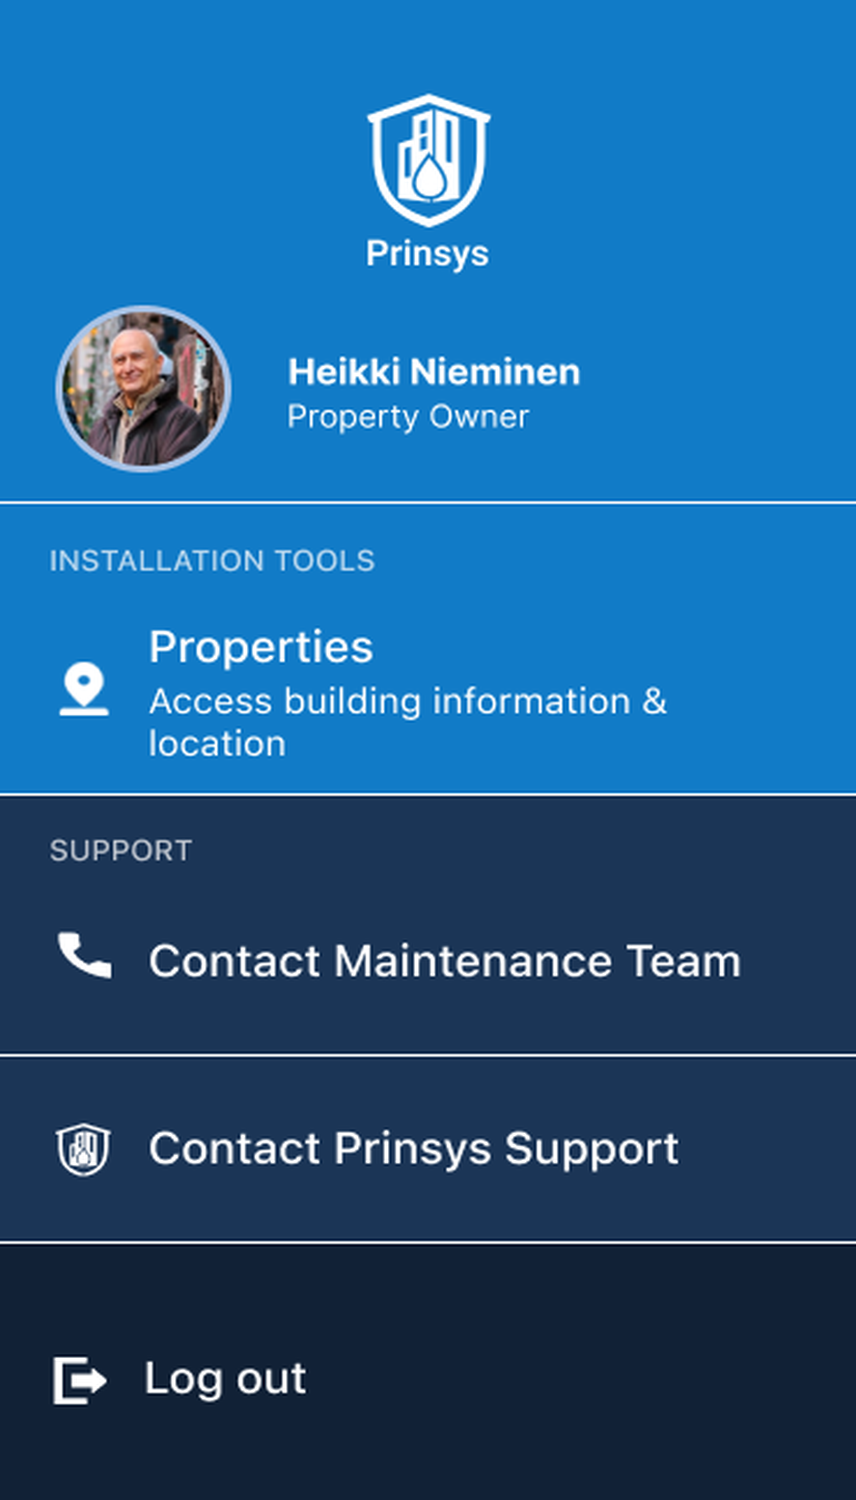
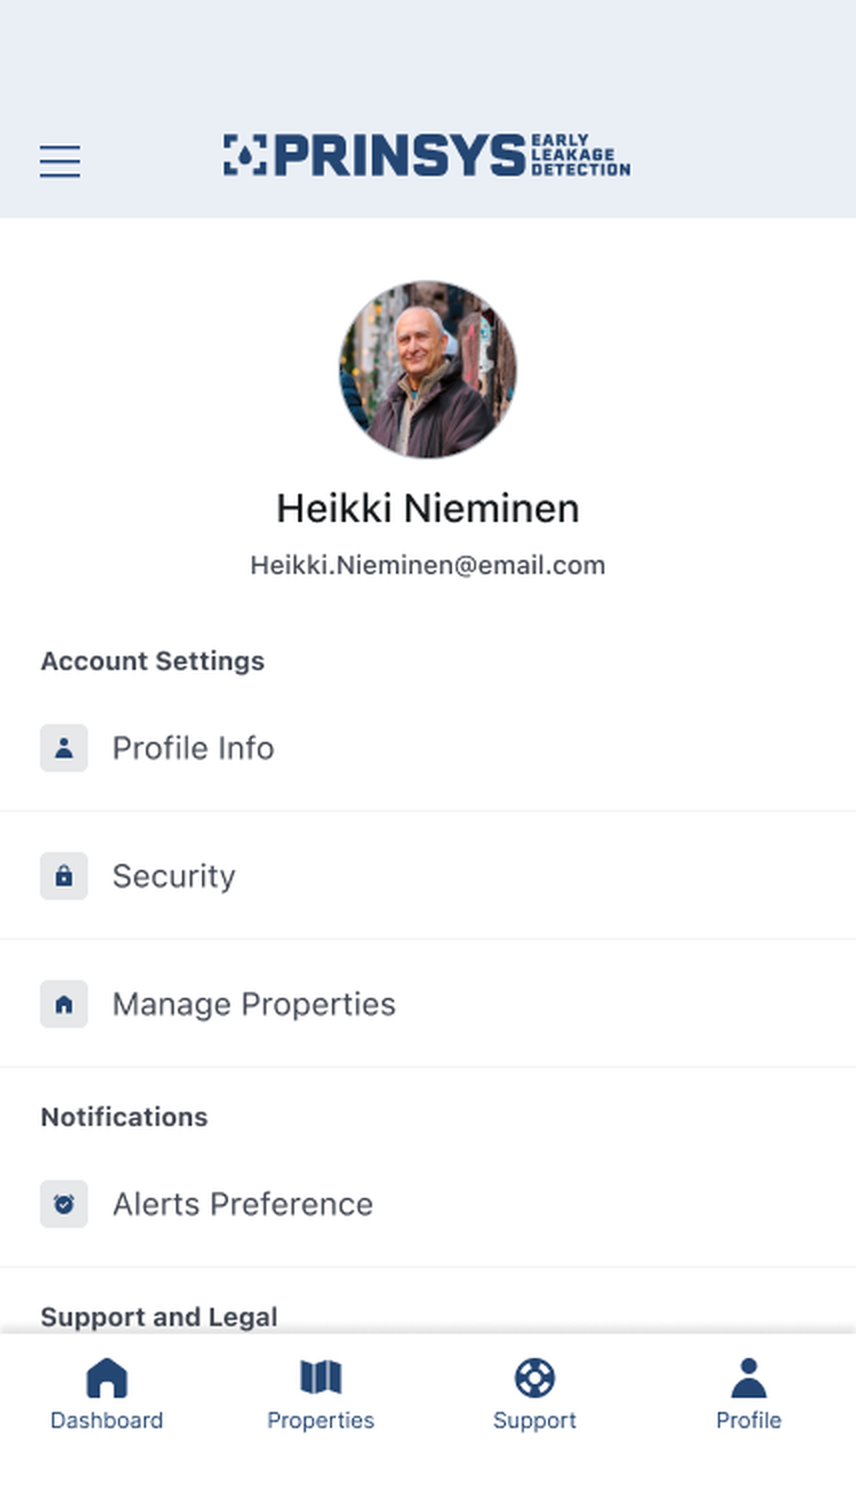
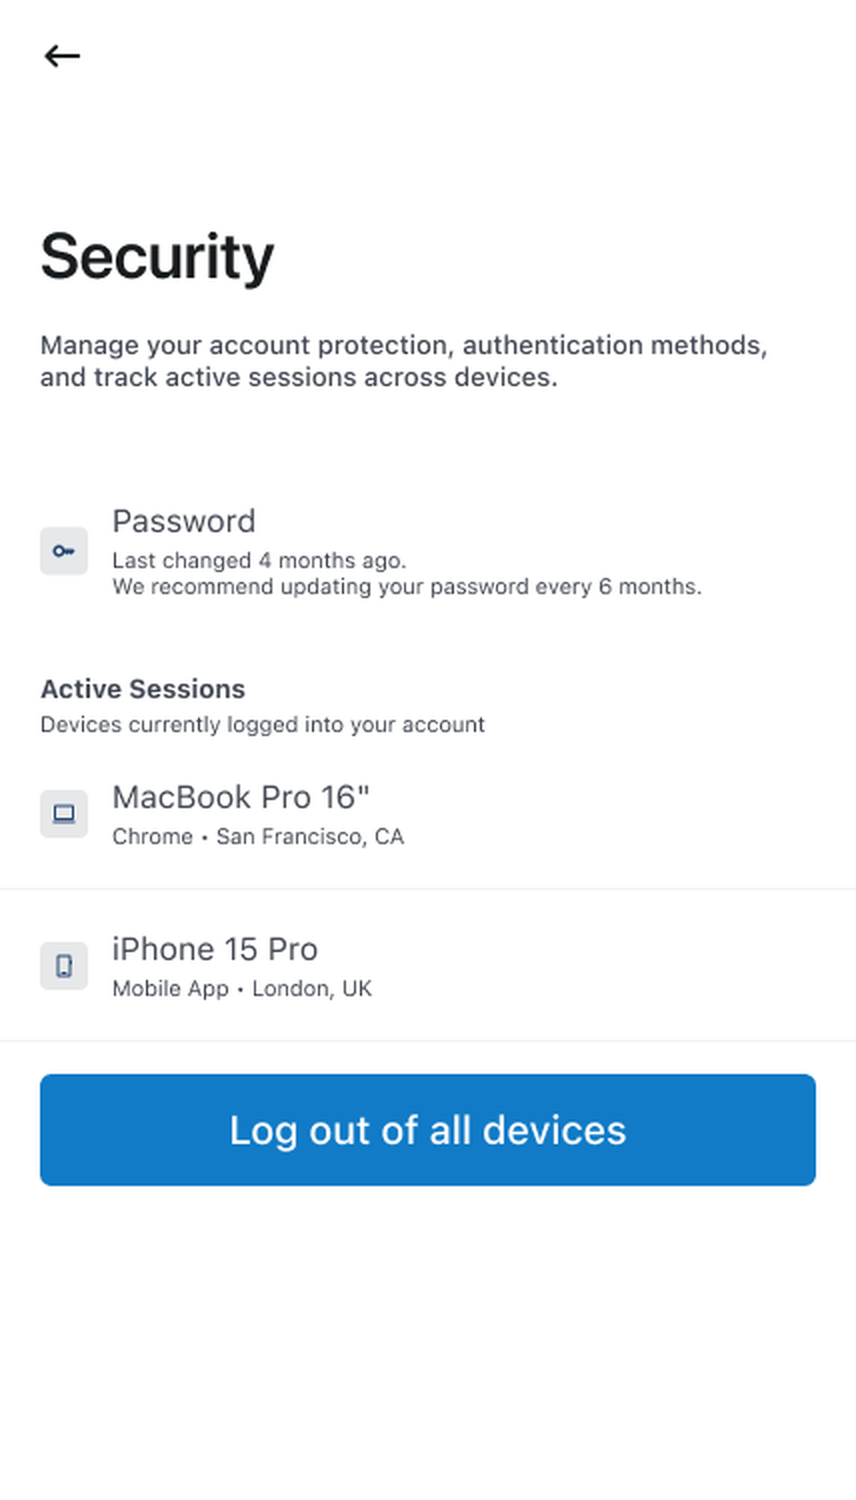
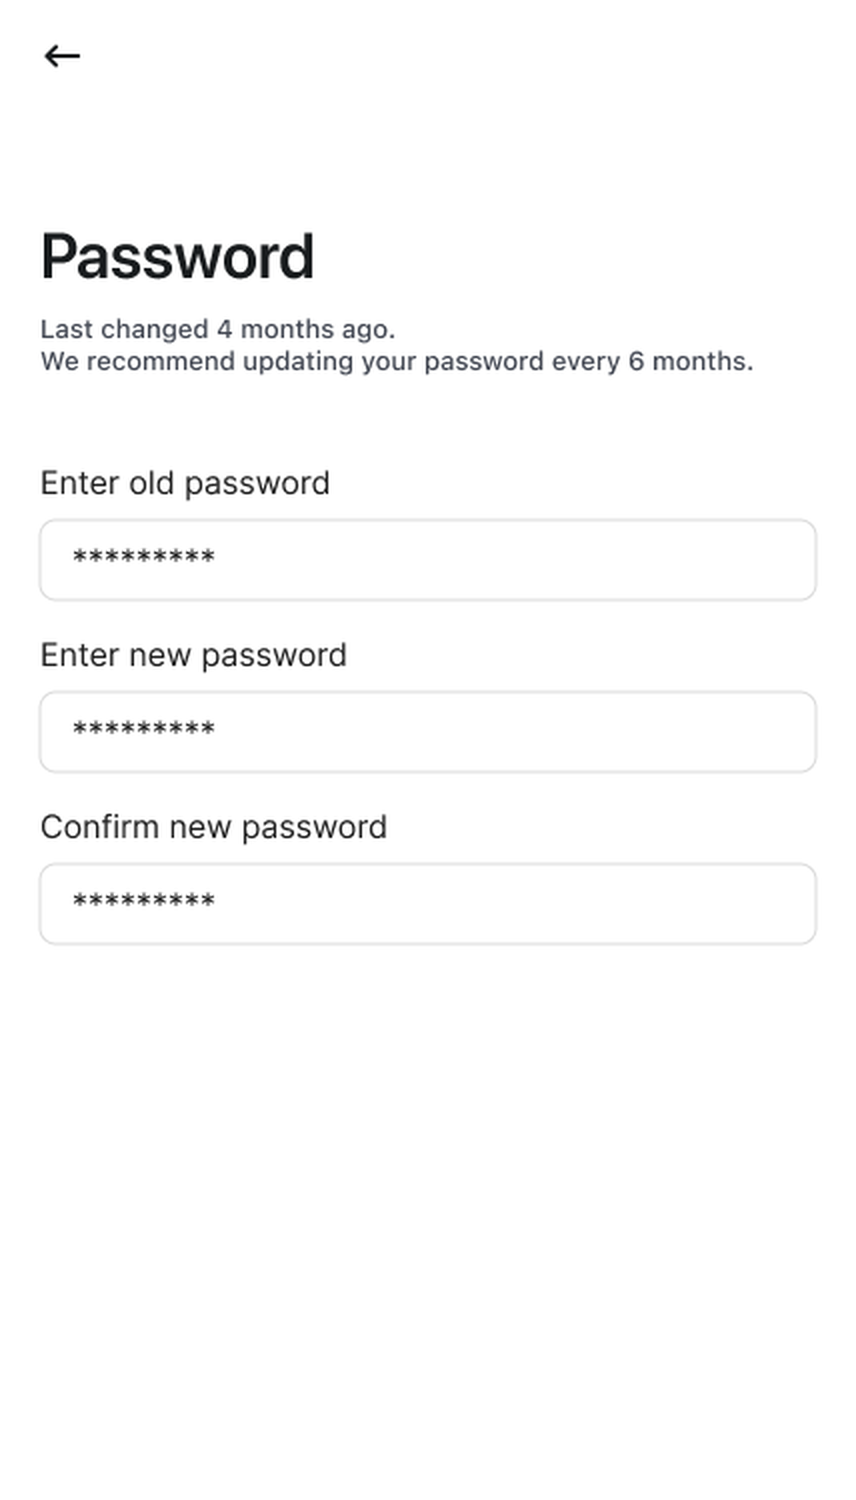
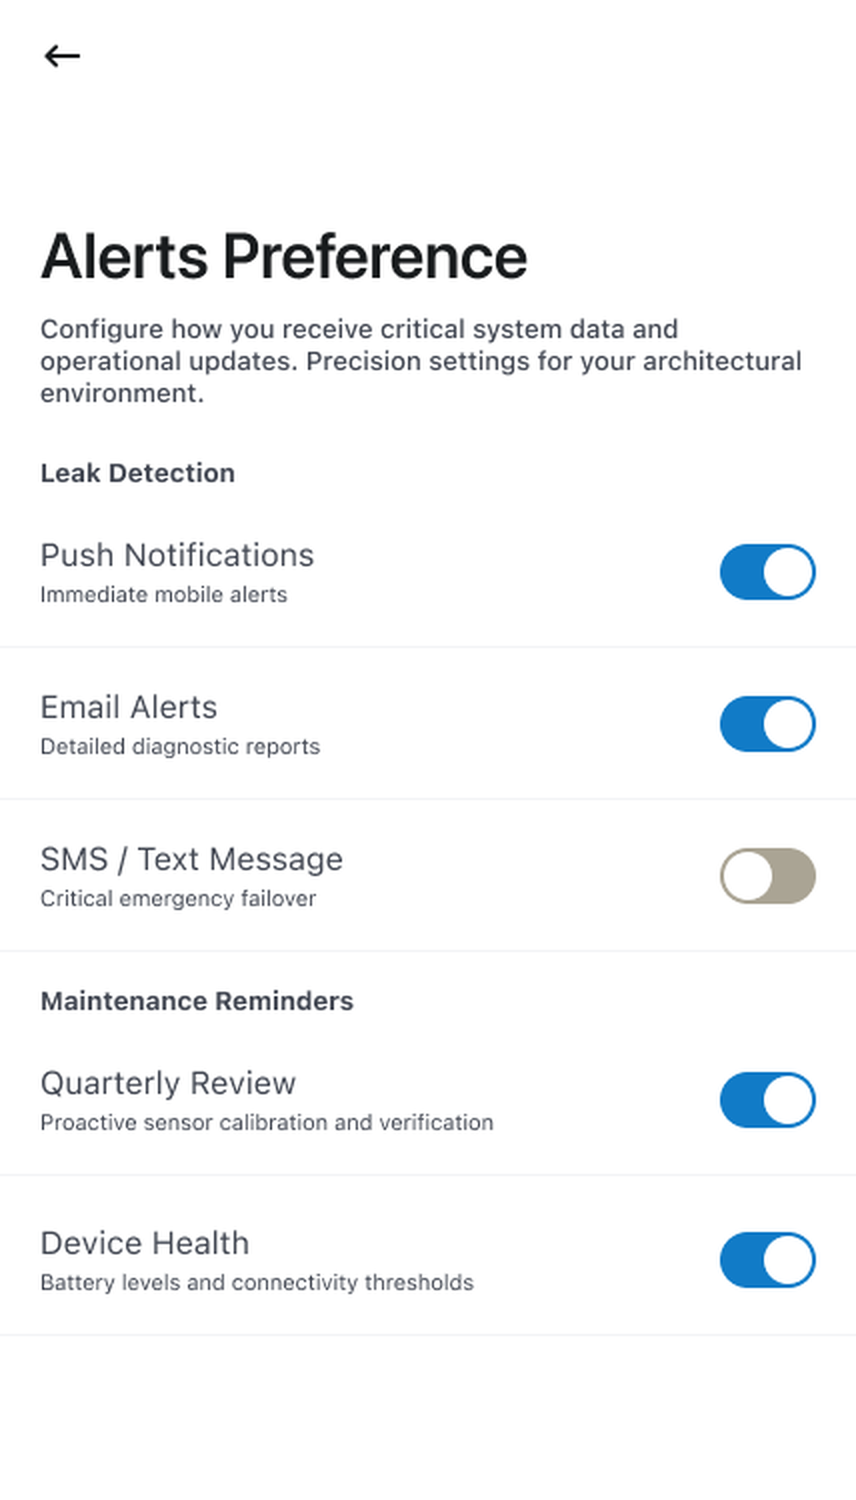
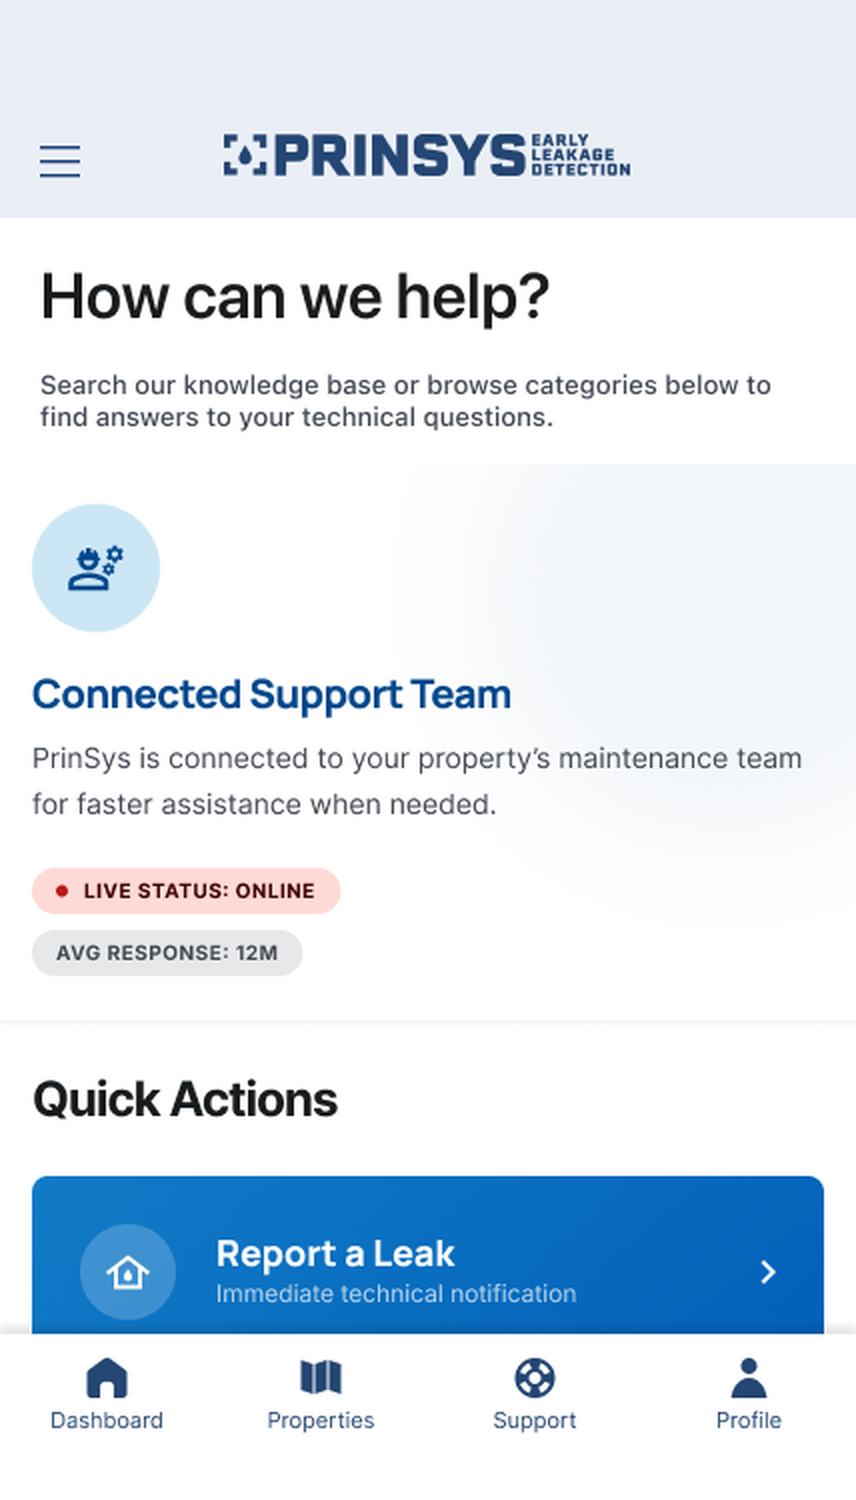
The U.S. team owned the front end, and we refined the wireframes with Prinsys. We created high fidelity, WCAG aligned screens across three flows. We went with a mobile first approach.
Property Monitoring includes a map. The app is designed for owners of apartments and hotels who manage many buildings. The Installation Guide took the longest to troubleshoot. Barcodes let maintenance teams register sensors with a phone camera for ease of use. Account Management covers alerts and support.
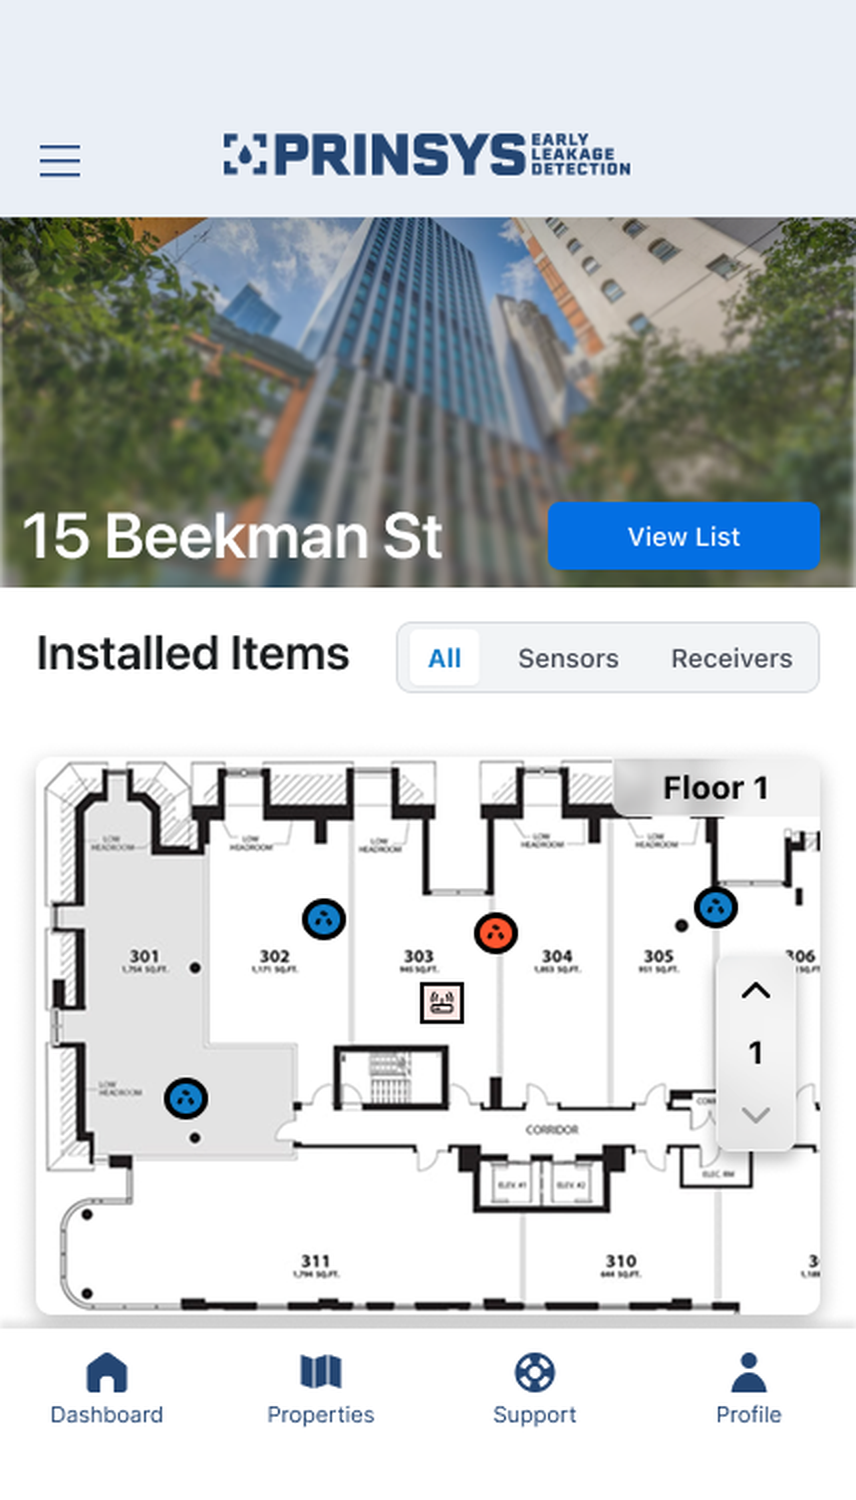
My role was translating the wireframes into Vue.js, transforming real blueprints into interactive SVG floor plans with clickable sensors. A separate team of eight CS students at Aalto built the backend and mocked our data, allowing us to test every alert.
Admin Panel
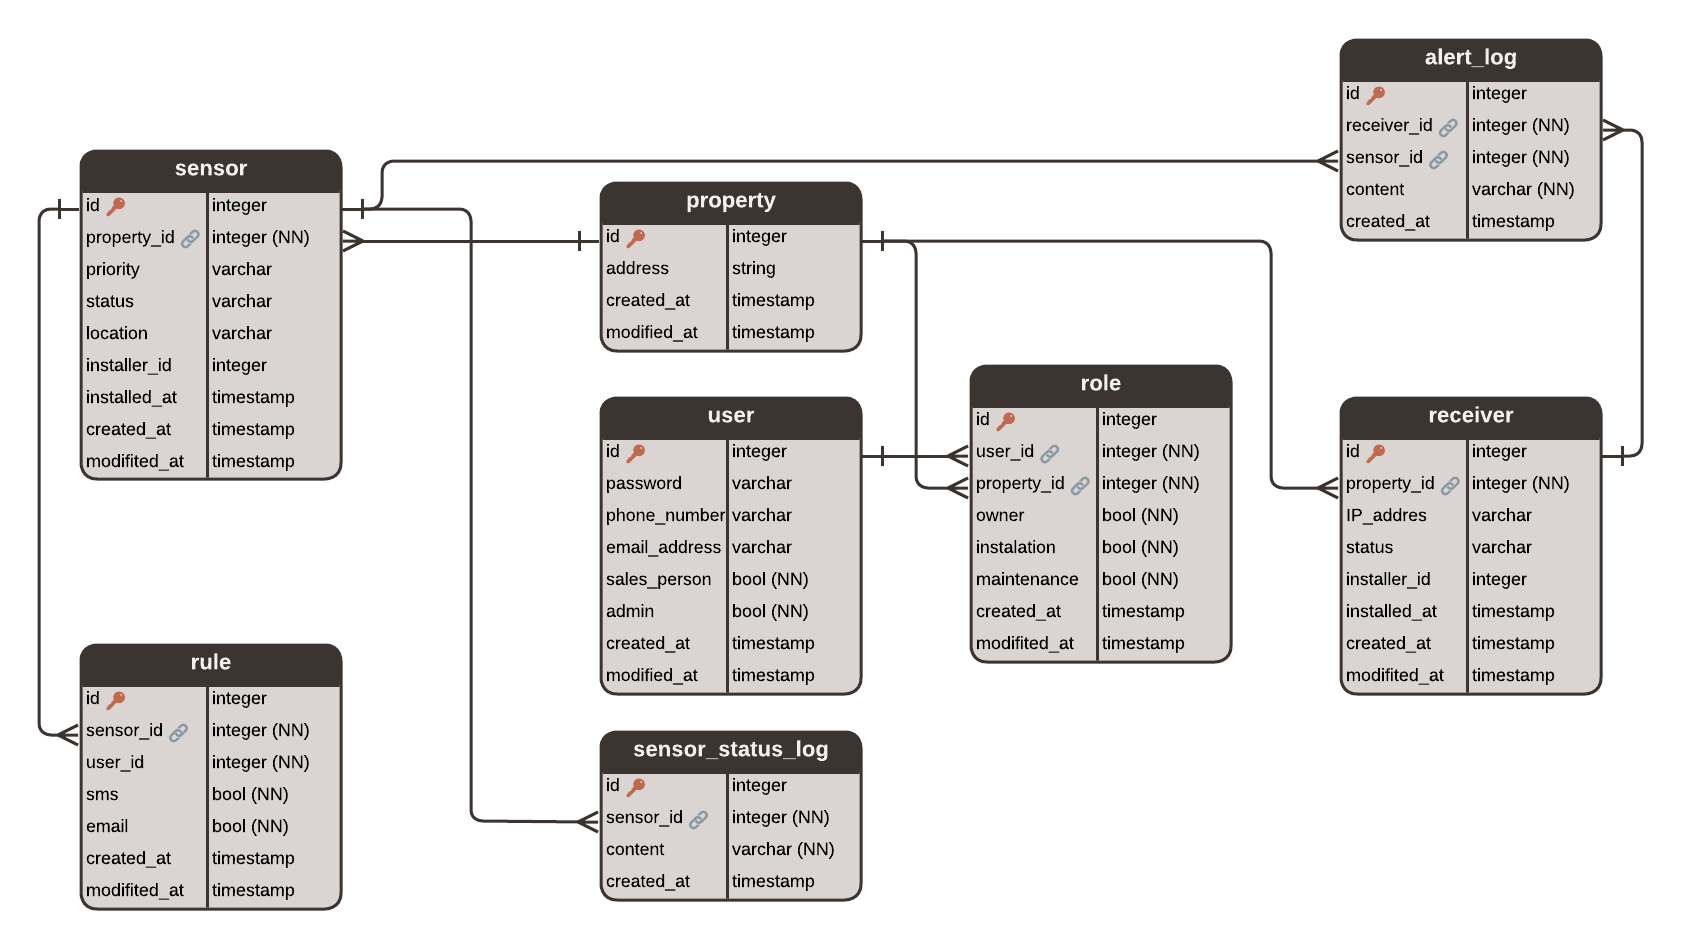
Entity Relationship Model

RF Circuit Schematic
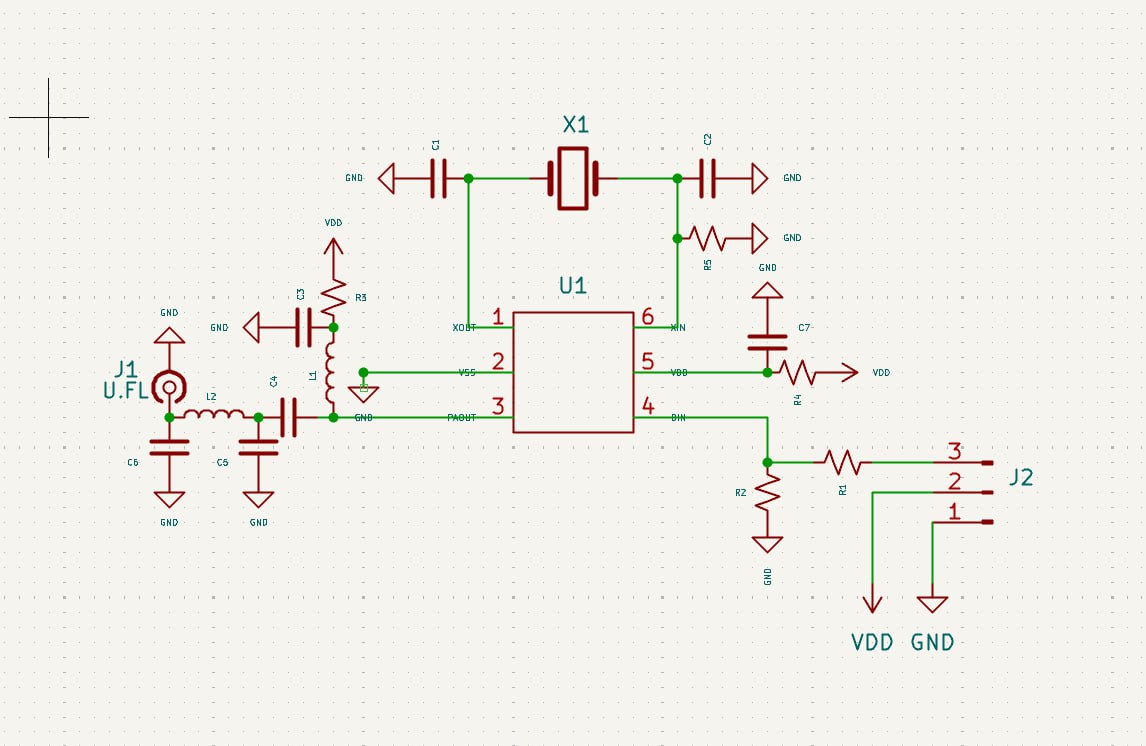
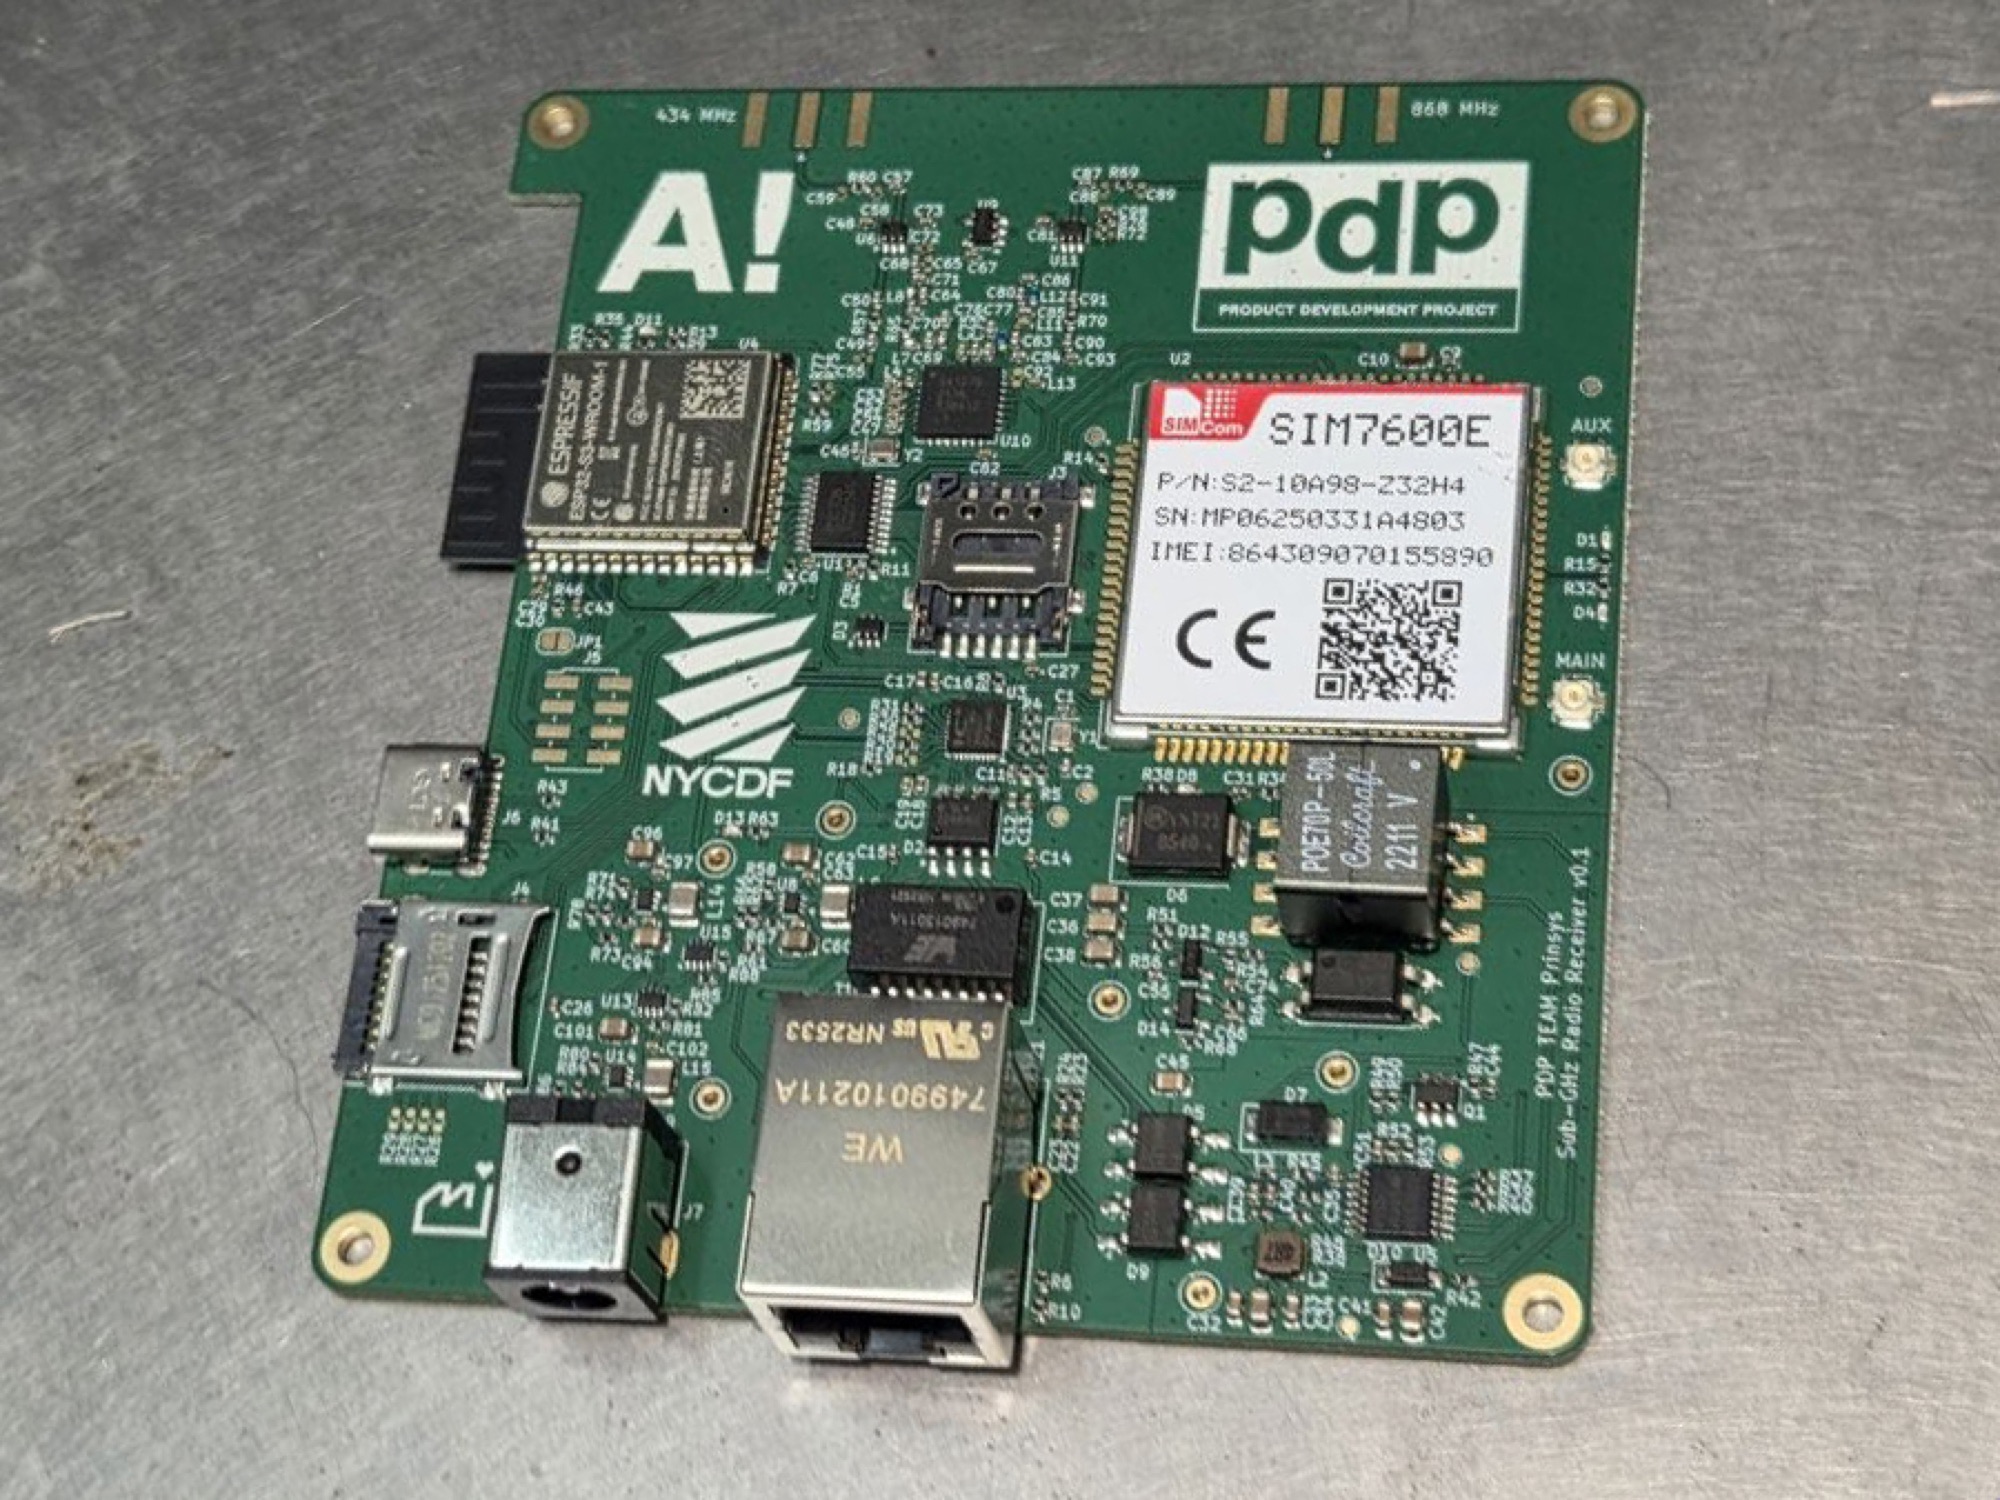
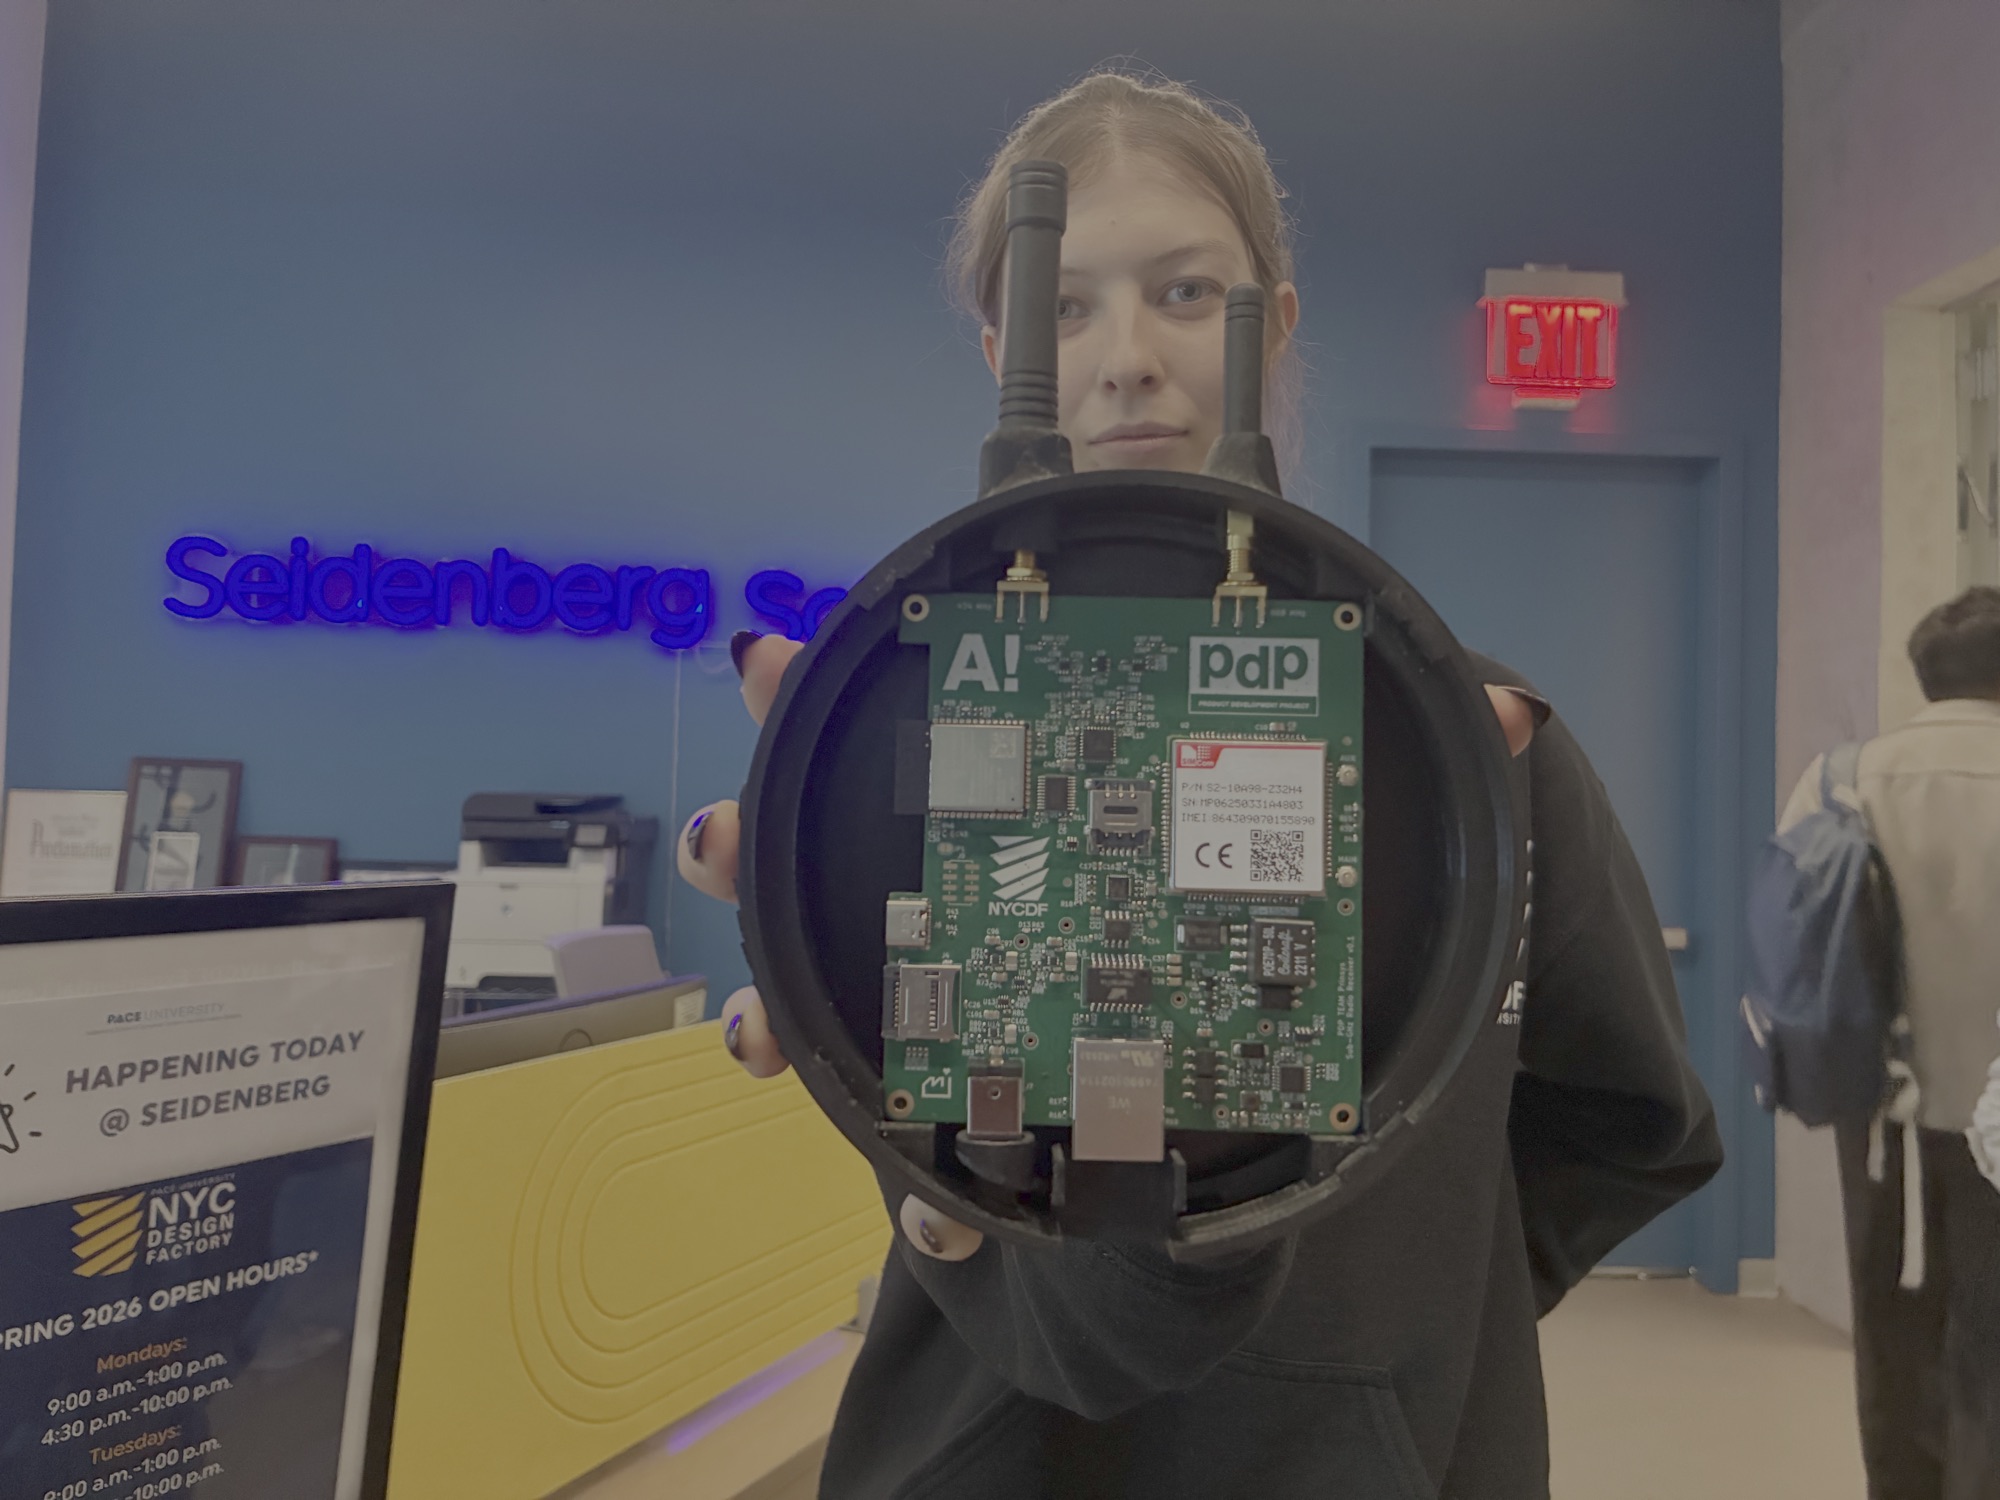
A building full of sensors needs a receiver to collect their signals, and the Finnish team designed its circuit. As the only engineer on the U.S. team, I became the link between their hardware and our software.
They started from a reference circuit built around the PT4455 chip. A crystal oscillator locks the signal to one frequency, and a matching network shapes the output so it leaves the board cleanly. The team then rebuilt it in KiCad, wiring each part to the chip's pins, power and ground rails, and connectors for PCB layout. Every alert in the app begins as a signal on this board.
The Handoff
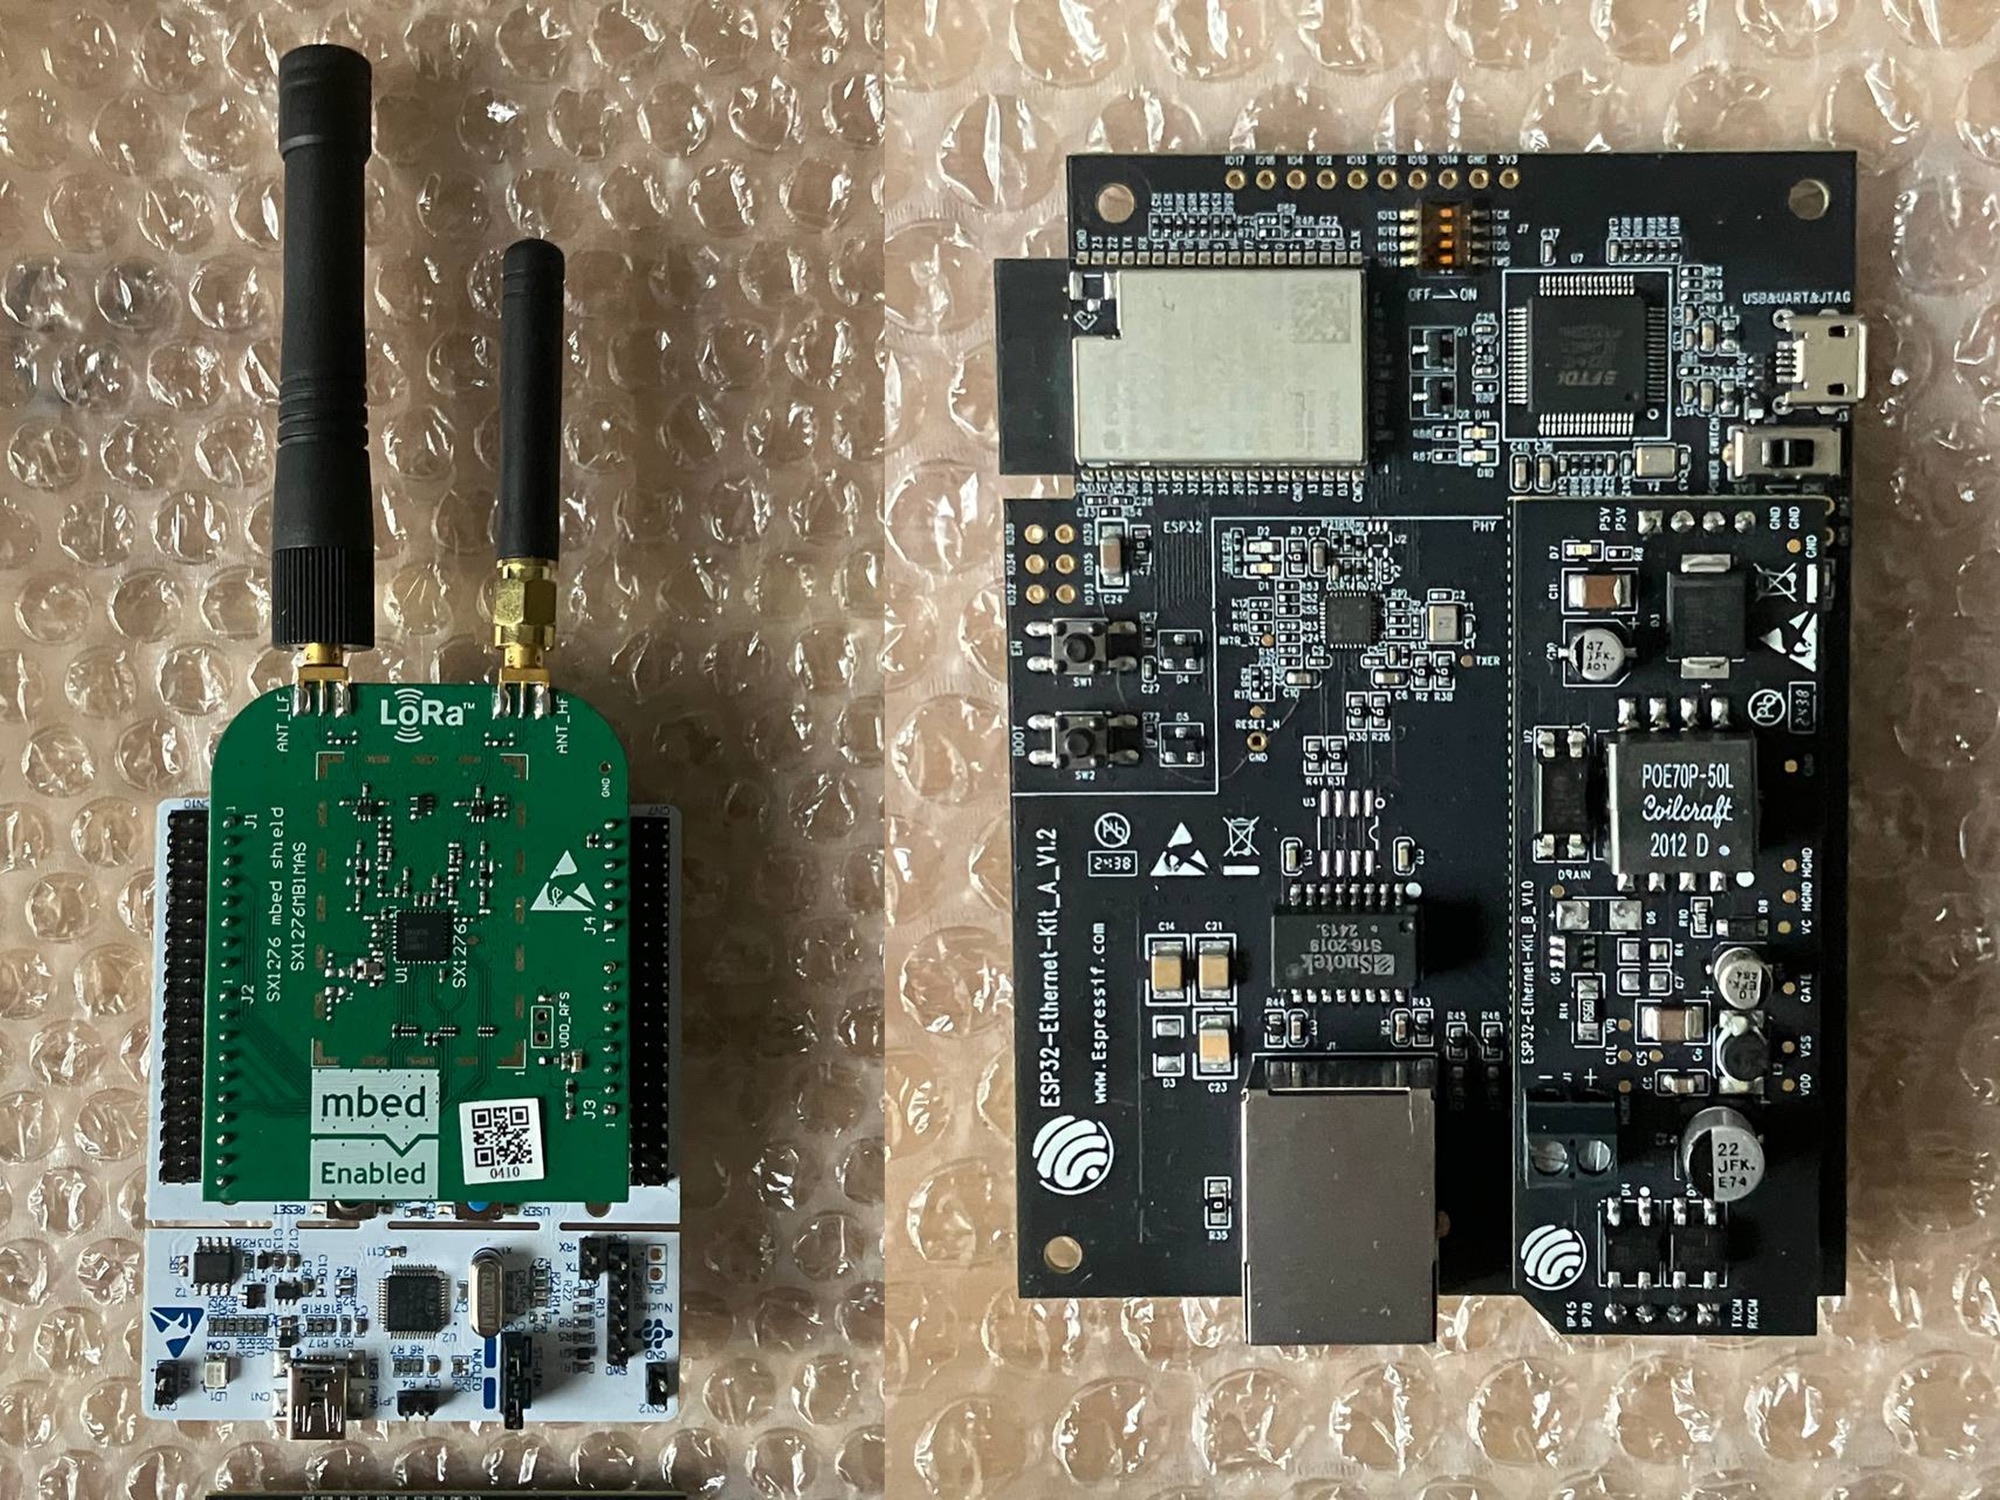
At the end of the year, we handed Prinsys a service design, a receiver prototype, and a working app. Prinsys took the Vue.js app built for continued development, and the receiver prototype is being refined for production.
Prinsys had always been building the sensor. Before this project, the sensor was one piece of a business. Our team built the service, software, and hardware around it, and gave Prinsys a roadmap to a finished product. The final work was presented at Aalto University's Product Development Gala.